Getting started
Create Project
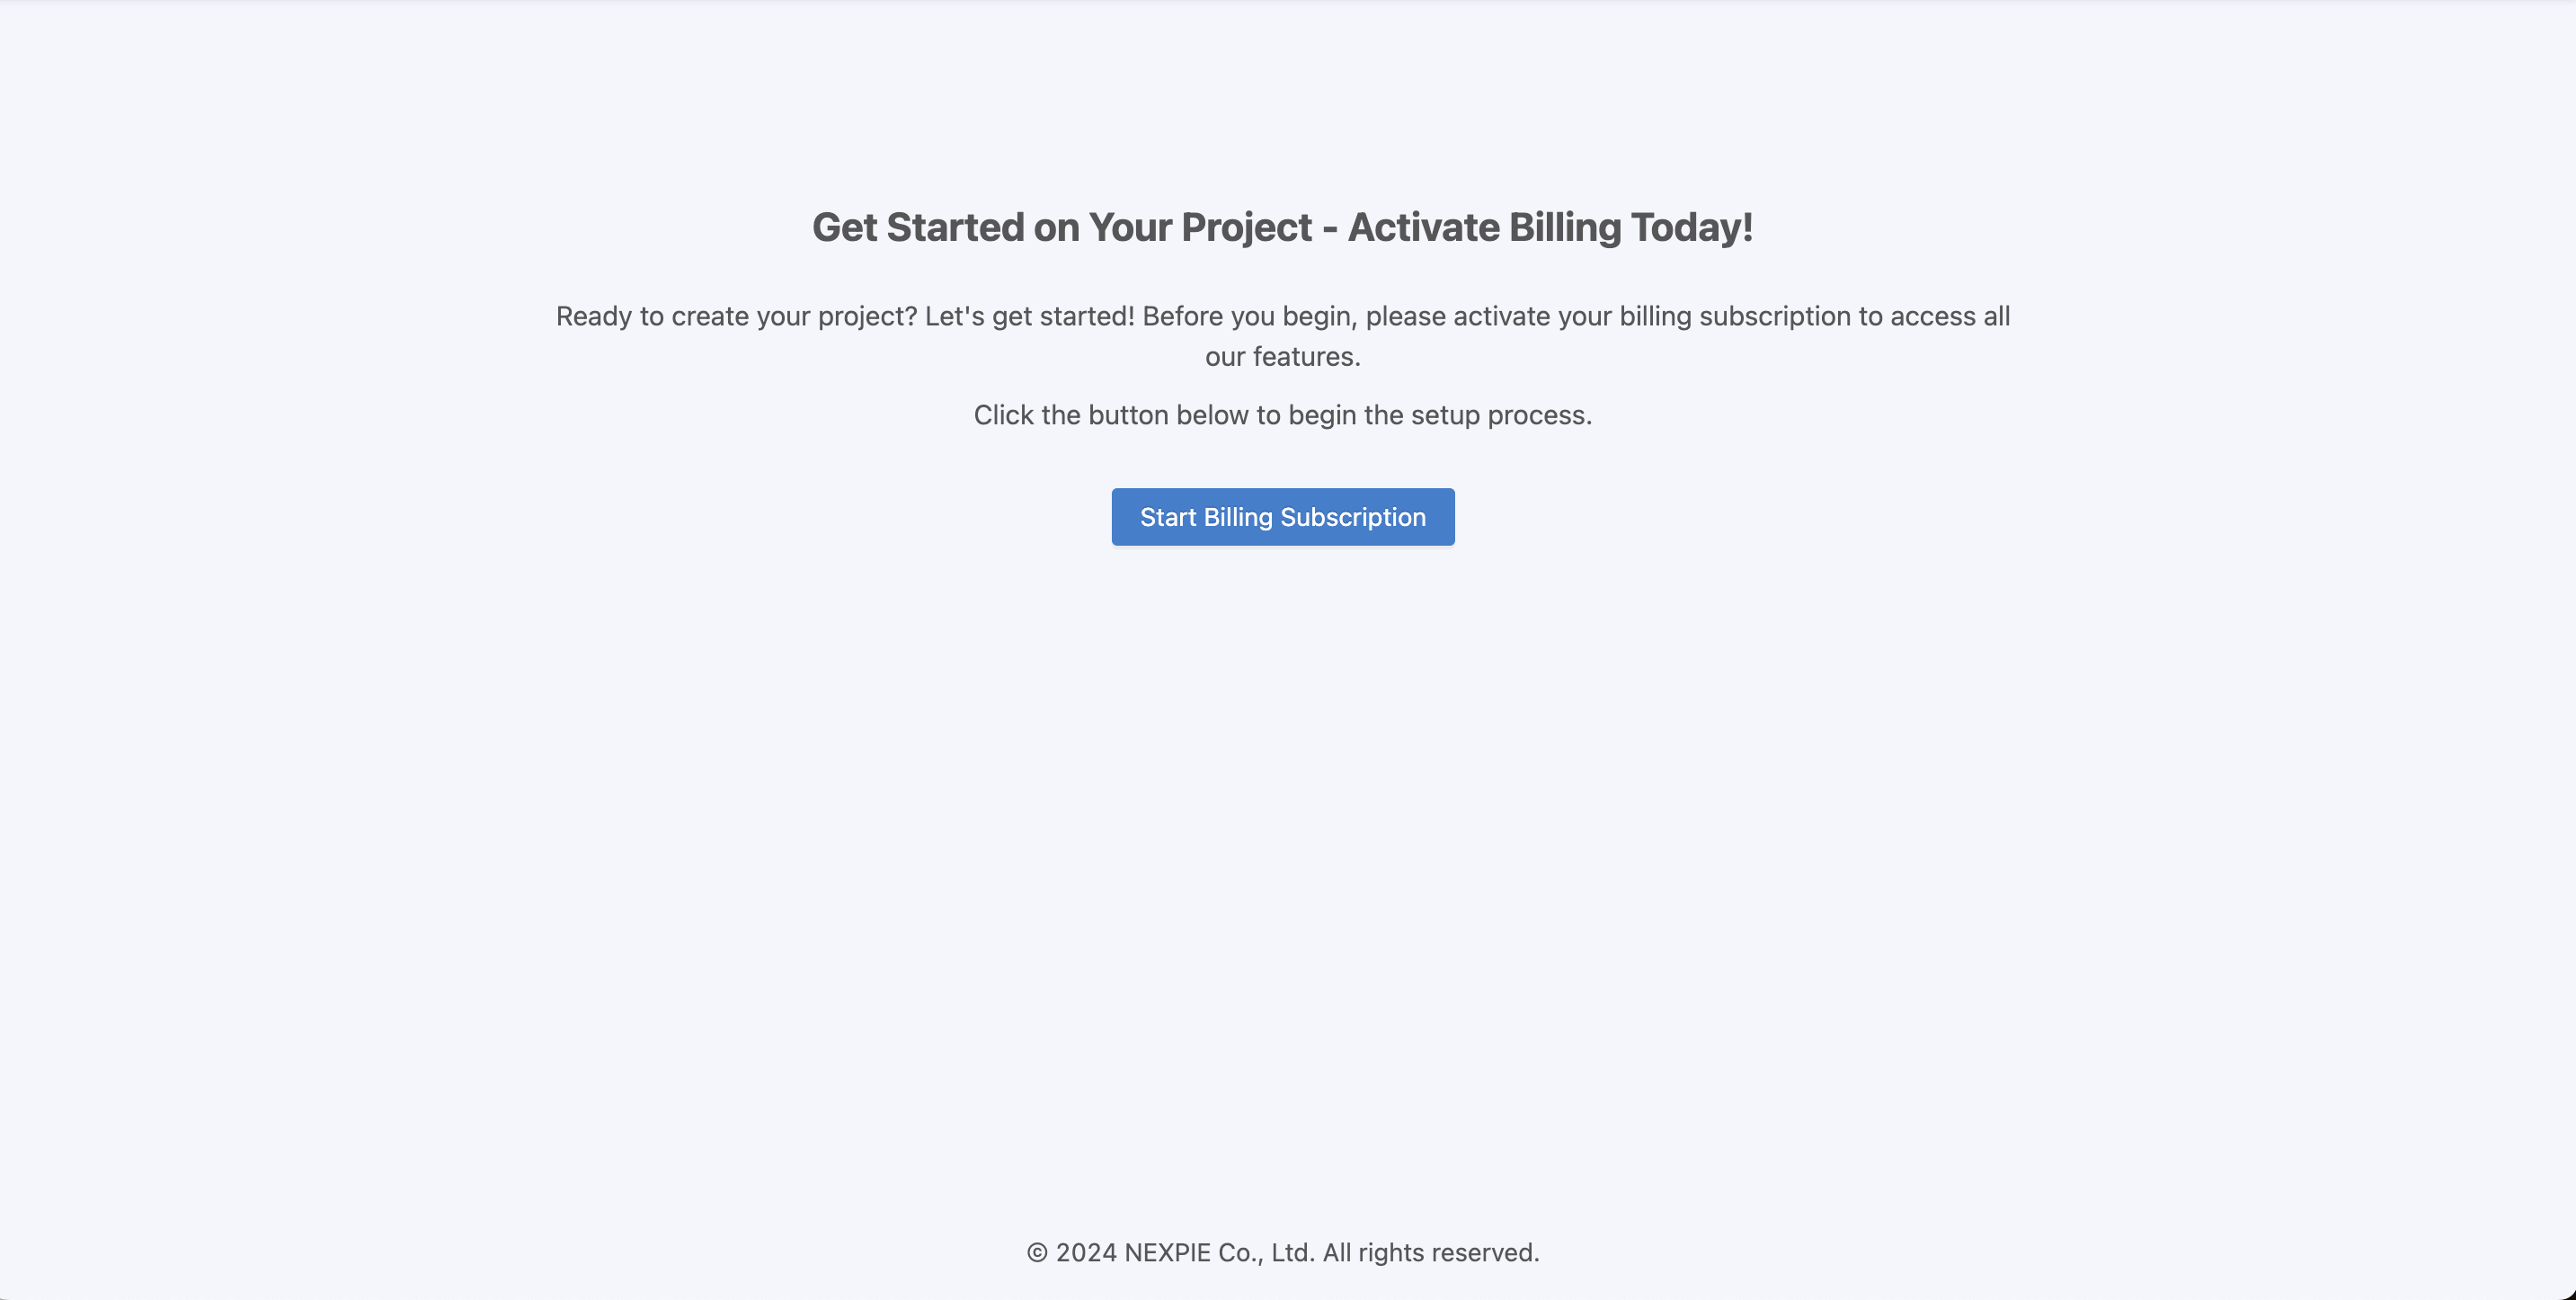
When you have successfully logged into https://portal.nexiiot.io , if this is your first time logging into the system and it has not been activated, a screen like the one below will appear. Click on the "Start Billing Subscription" button to start counting the usage cycle (normally 1 usage cycle is 1 month) and set the usage quota according to the package allocated. The system will reset the usage quota when the next usage cycle begins.
When enabled, the system will display the Project management screen for creating or a list of projects that have already been created.
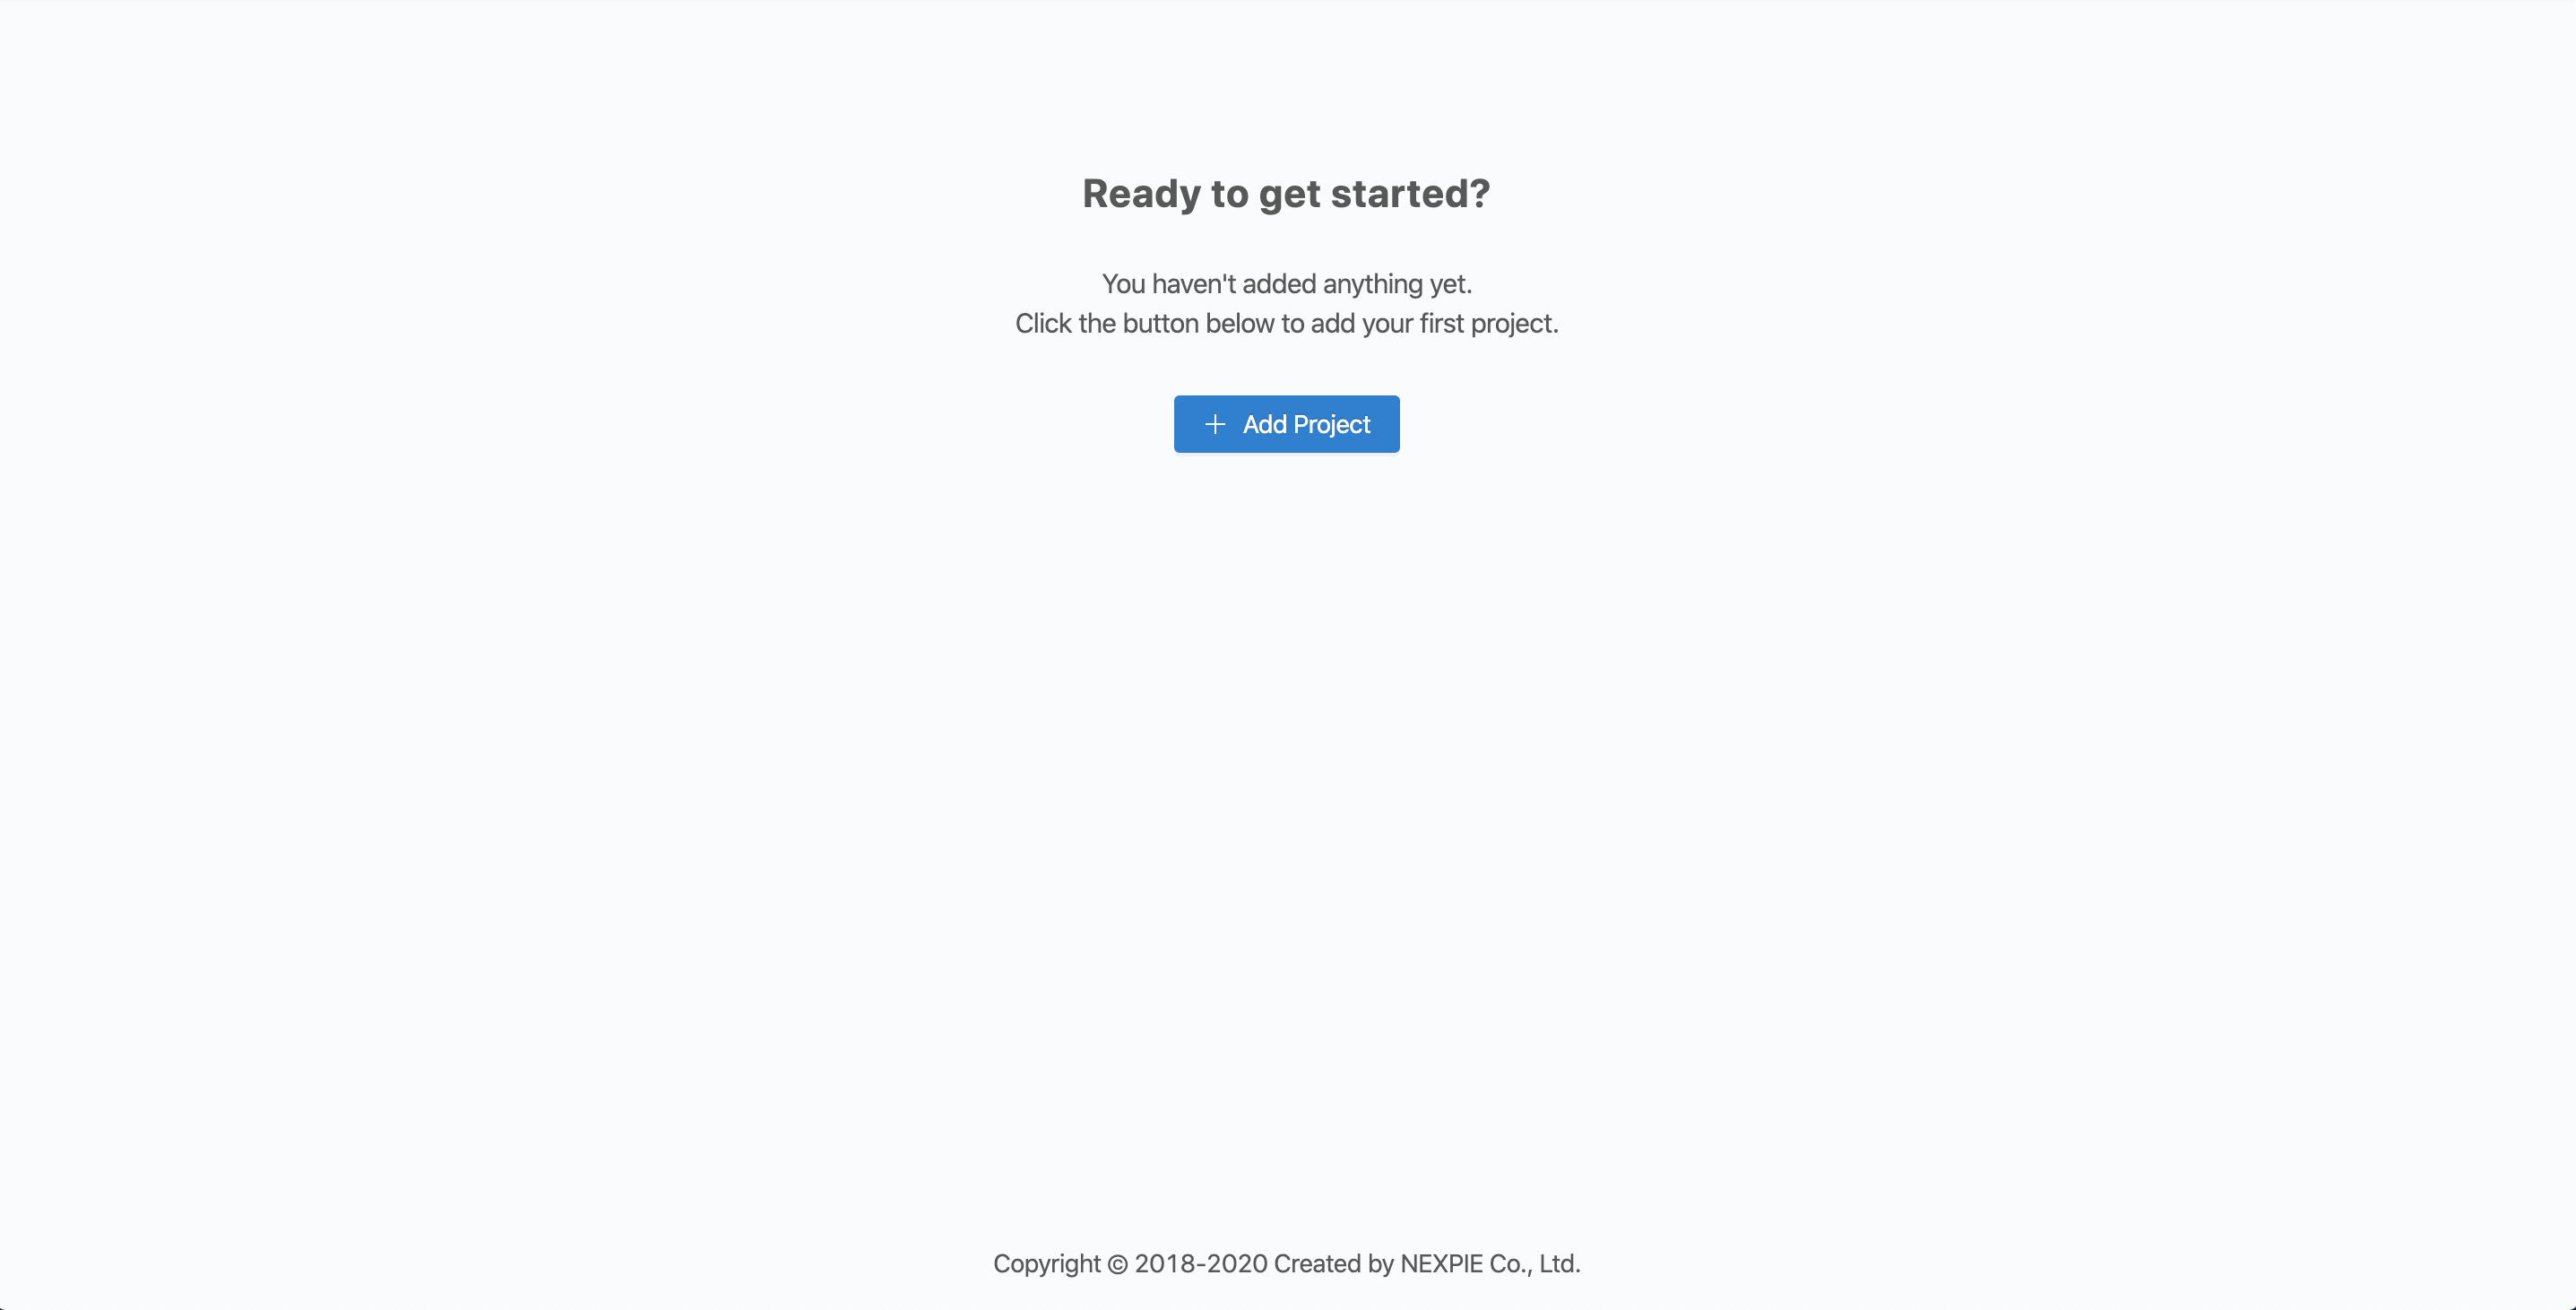
If you don't have one, create a project by clicking "Add Project". A form like the one shown below will appear.
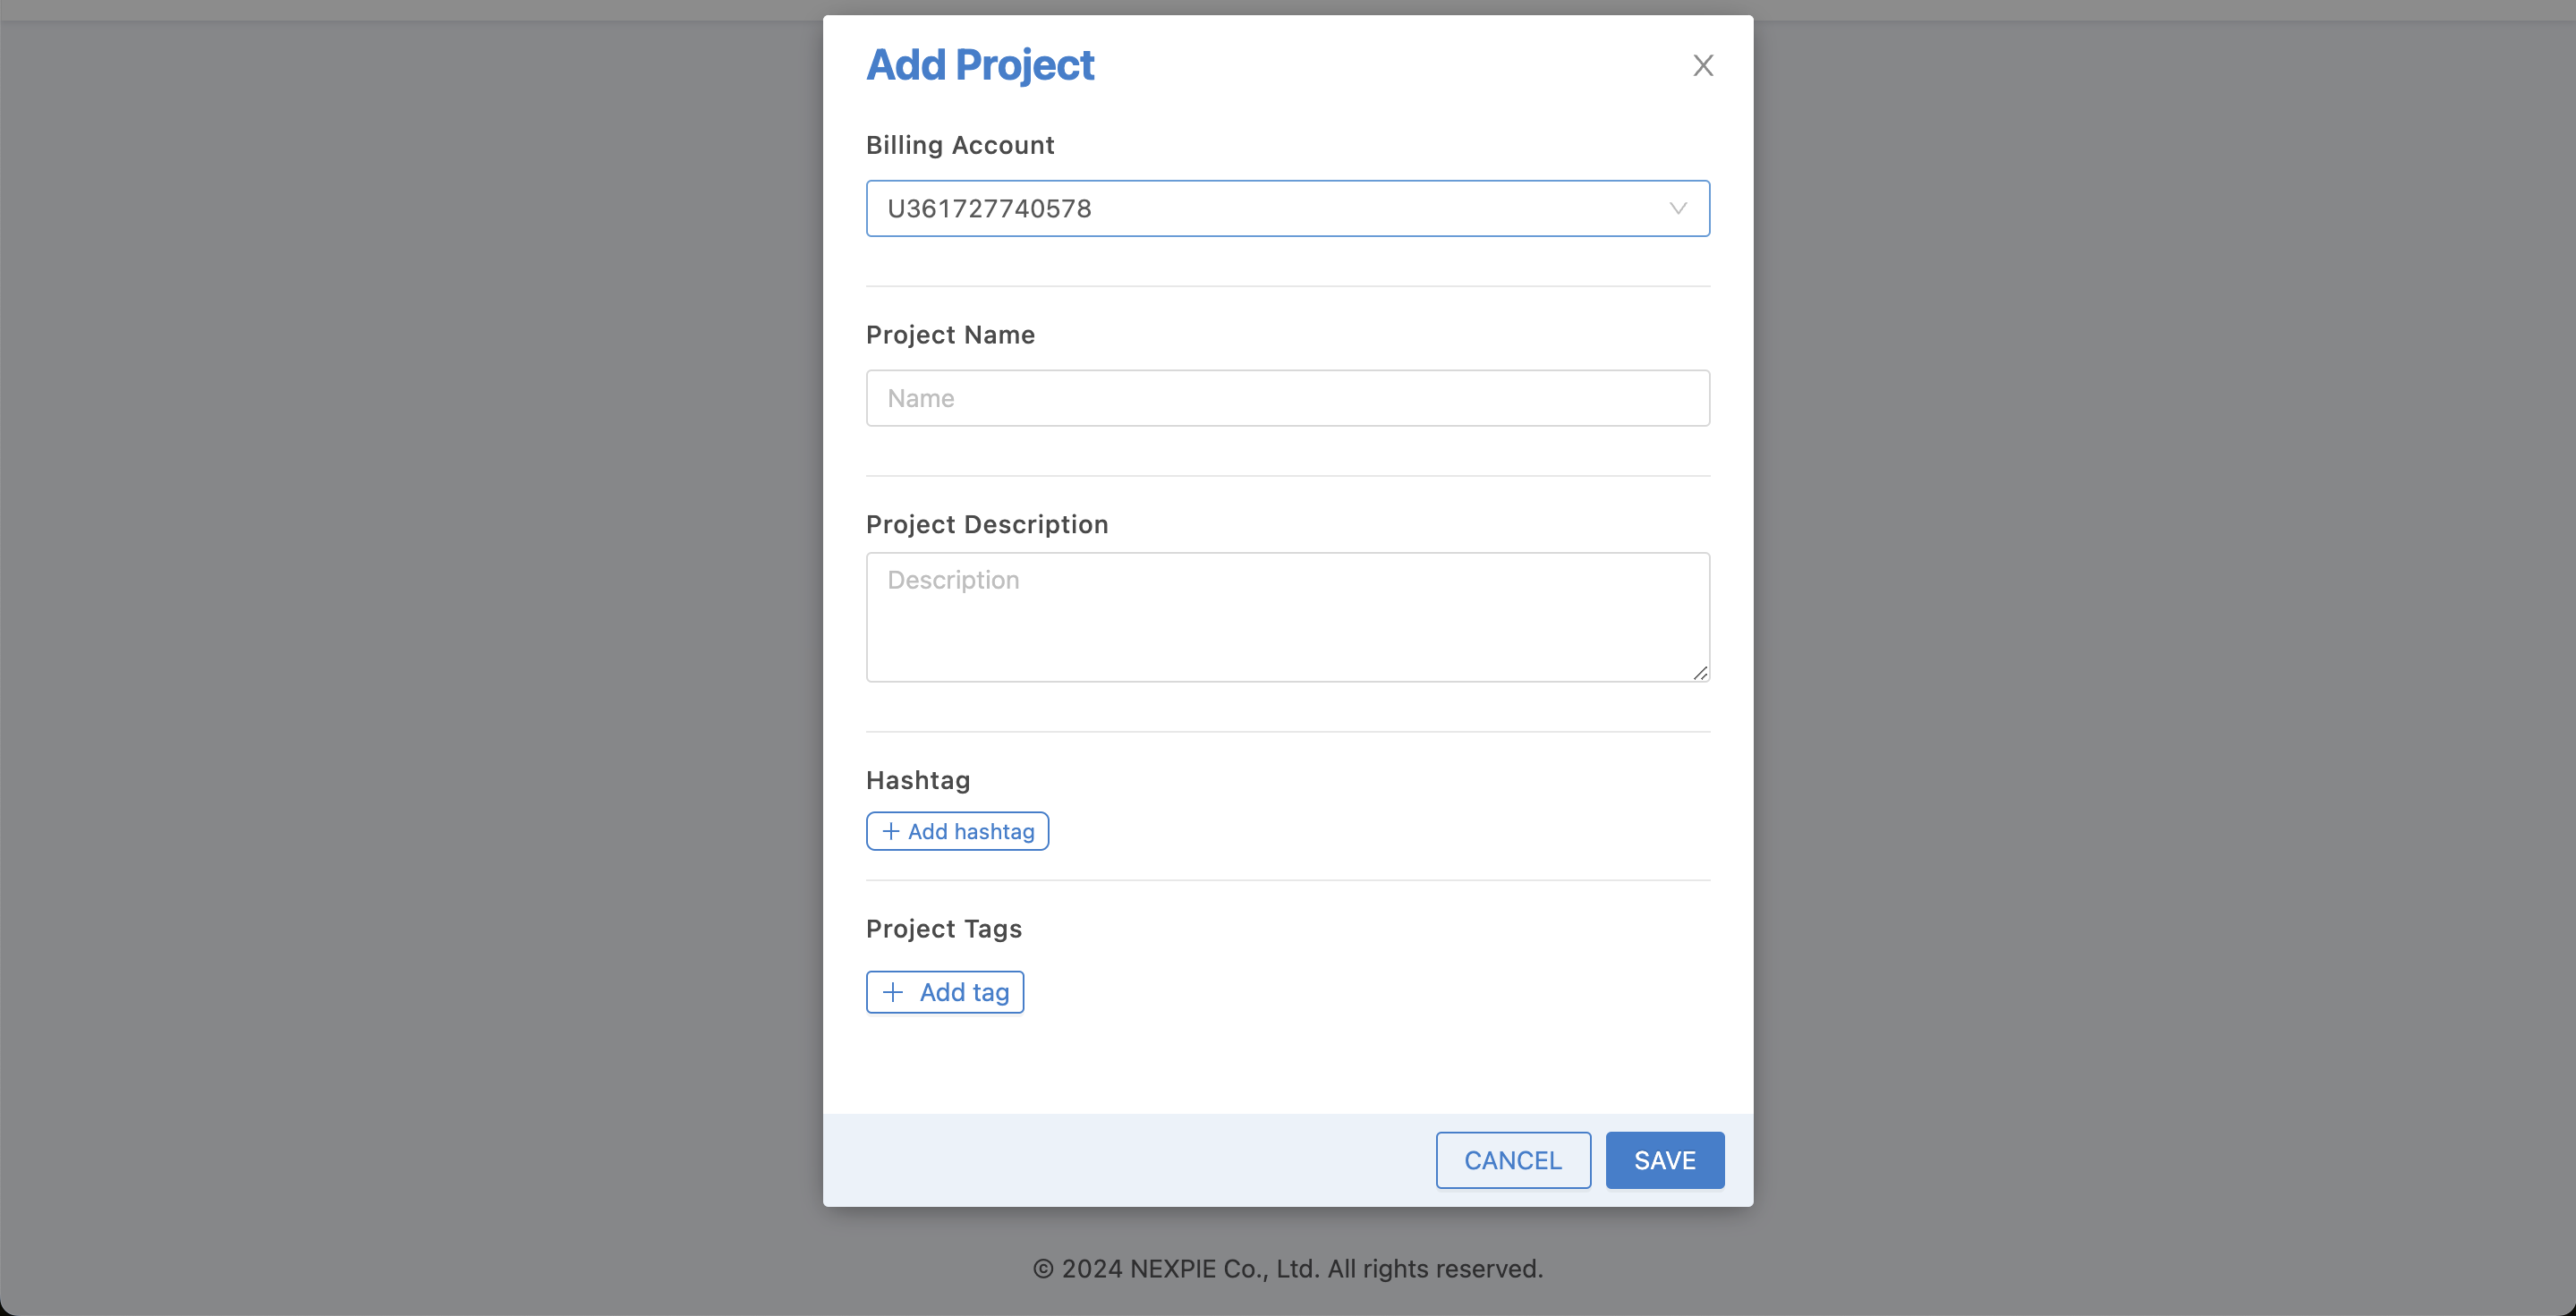
Fill in the Project information and click the "SAVE" button. The system will create the Project and display the Project details.

Create Device
Click on the "Device" menu on the left, the screen for managing device information will appear as shown in the following figure.
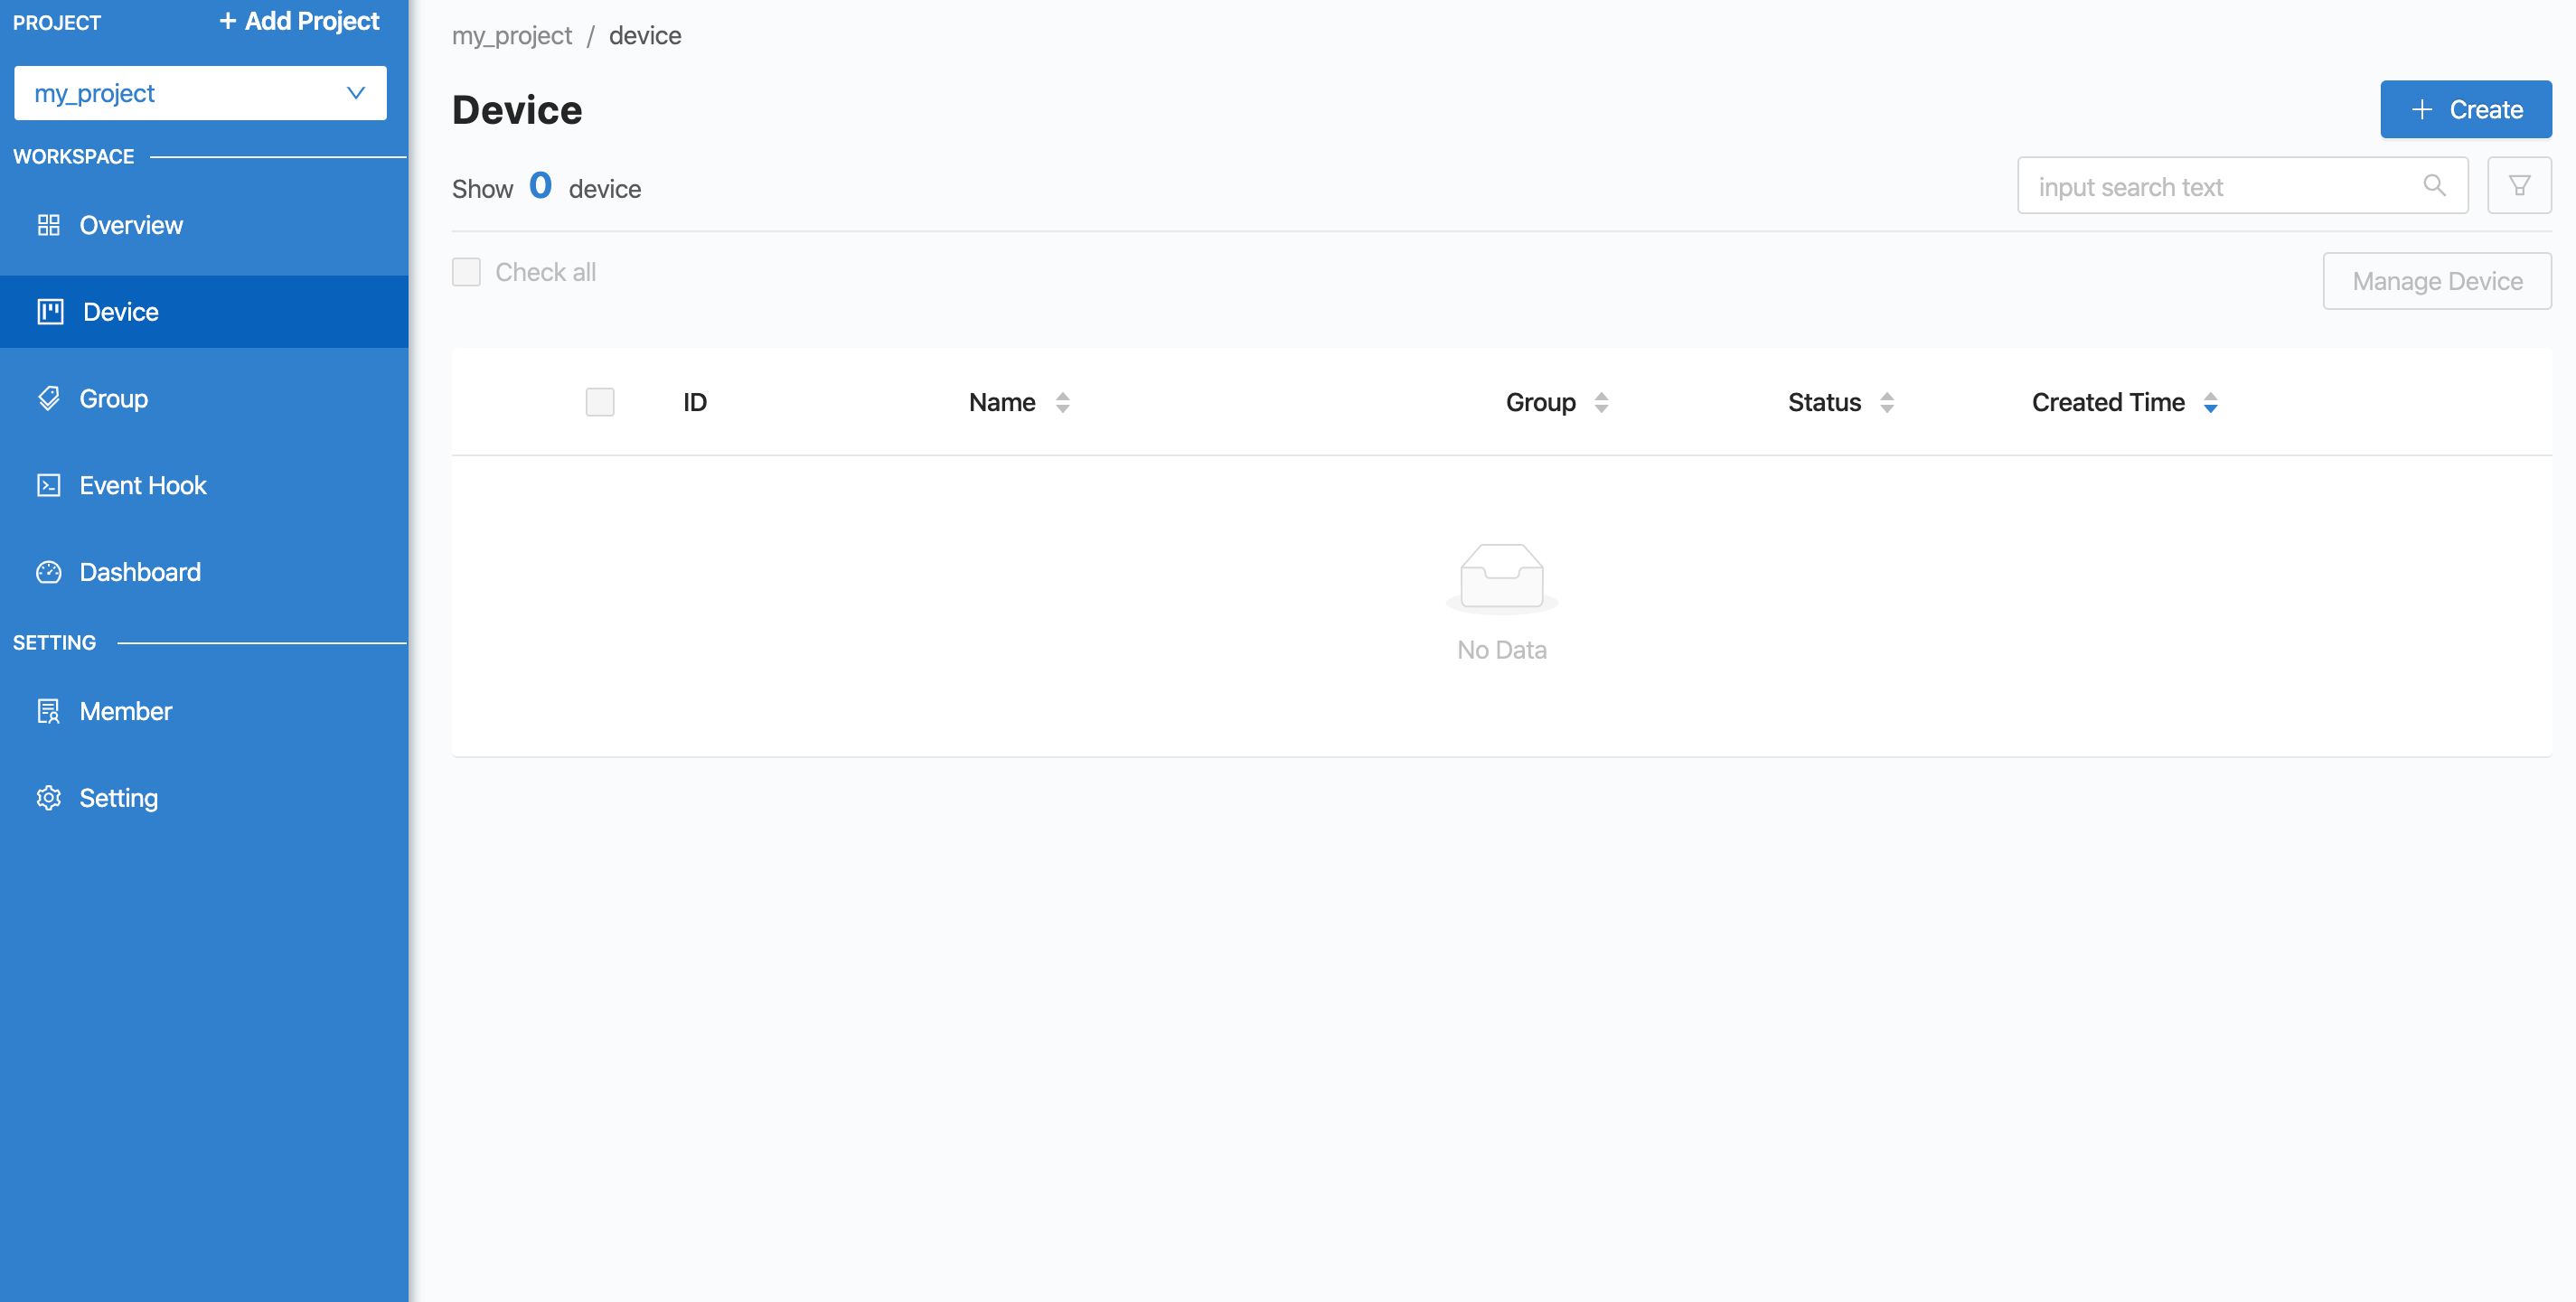
After that, click on the "Create" button in the top right corner to create a new Device. A form will appear to fill in the Device information.
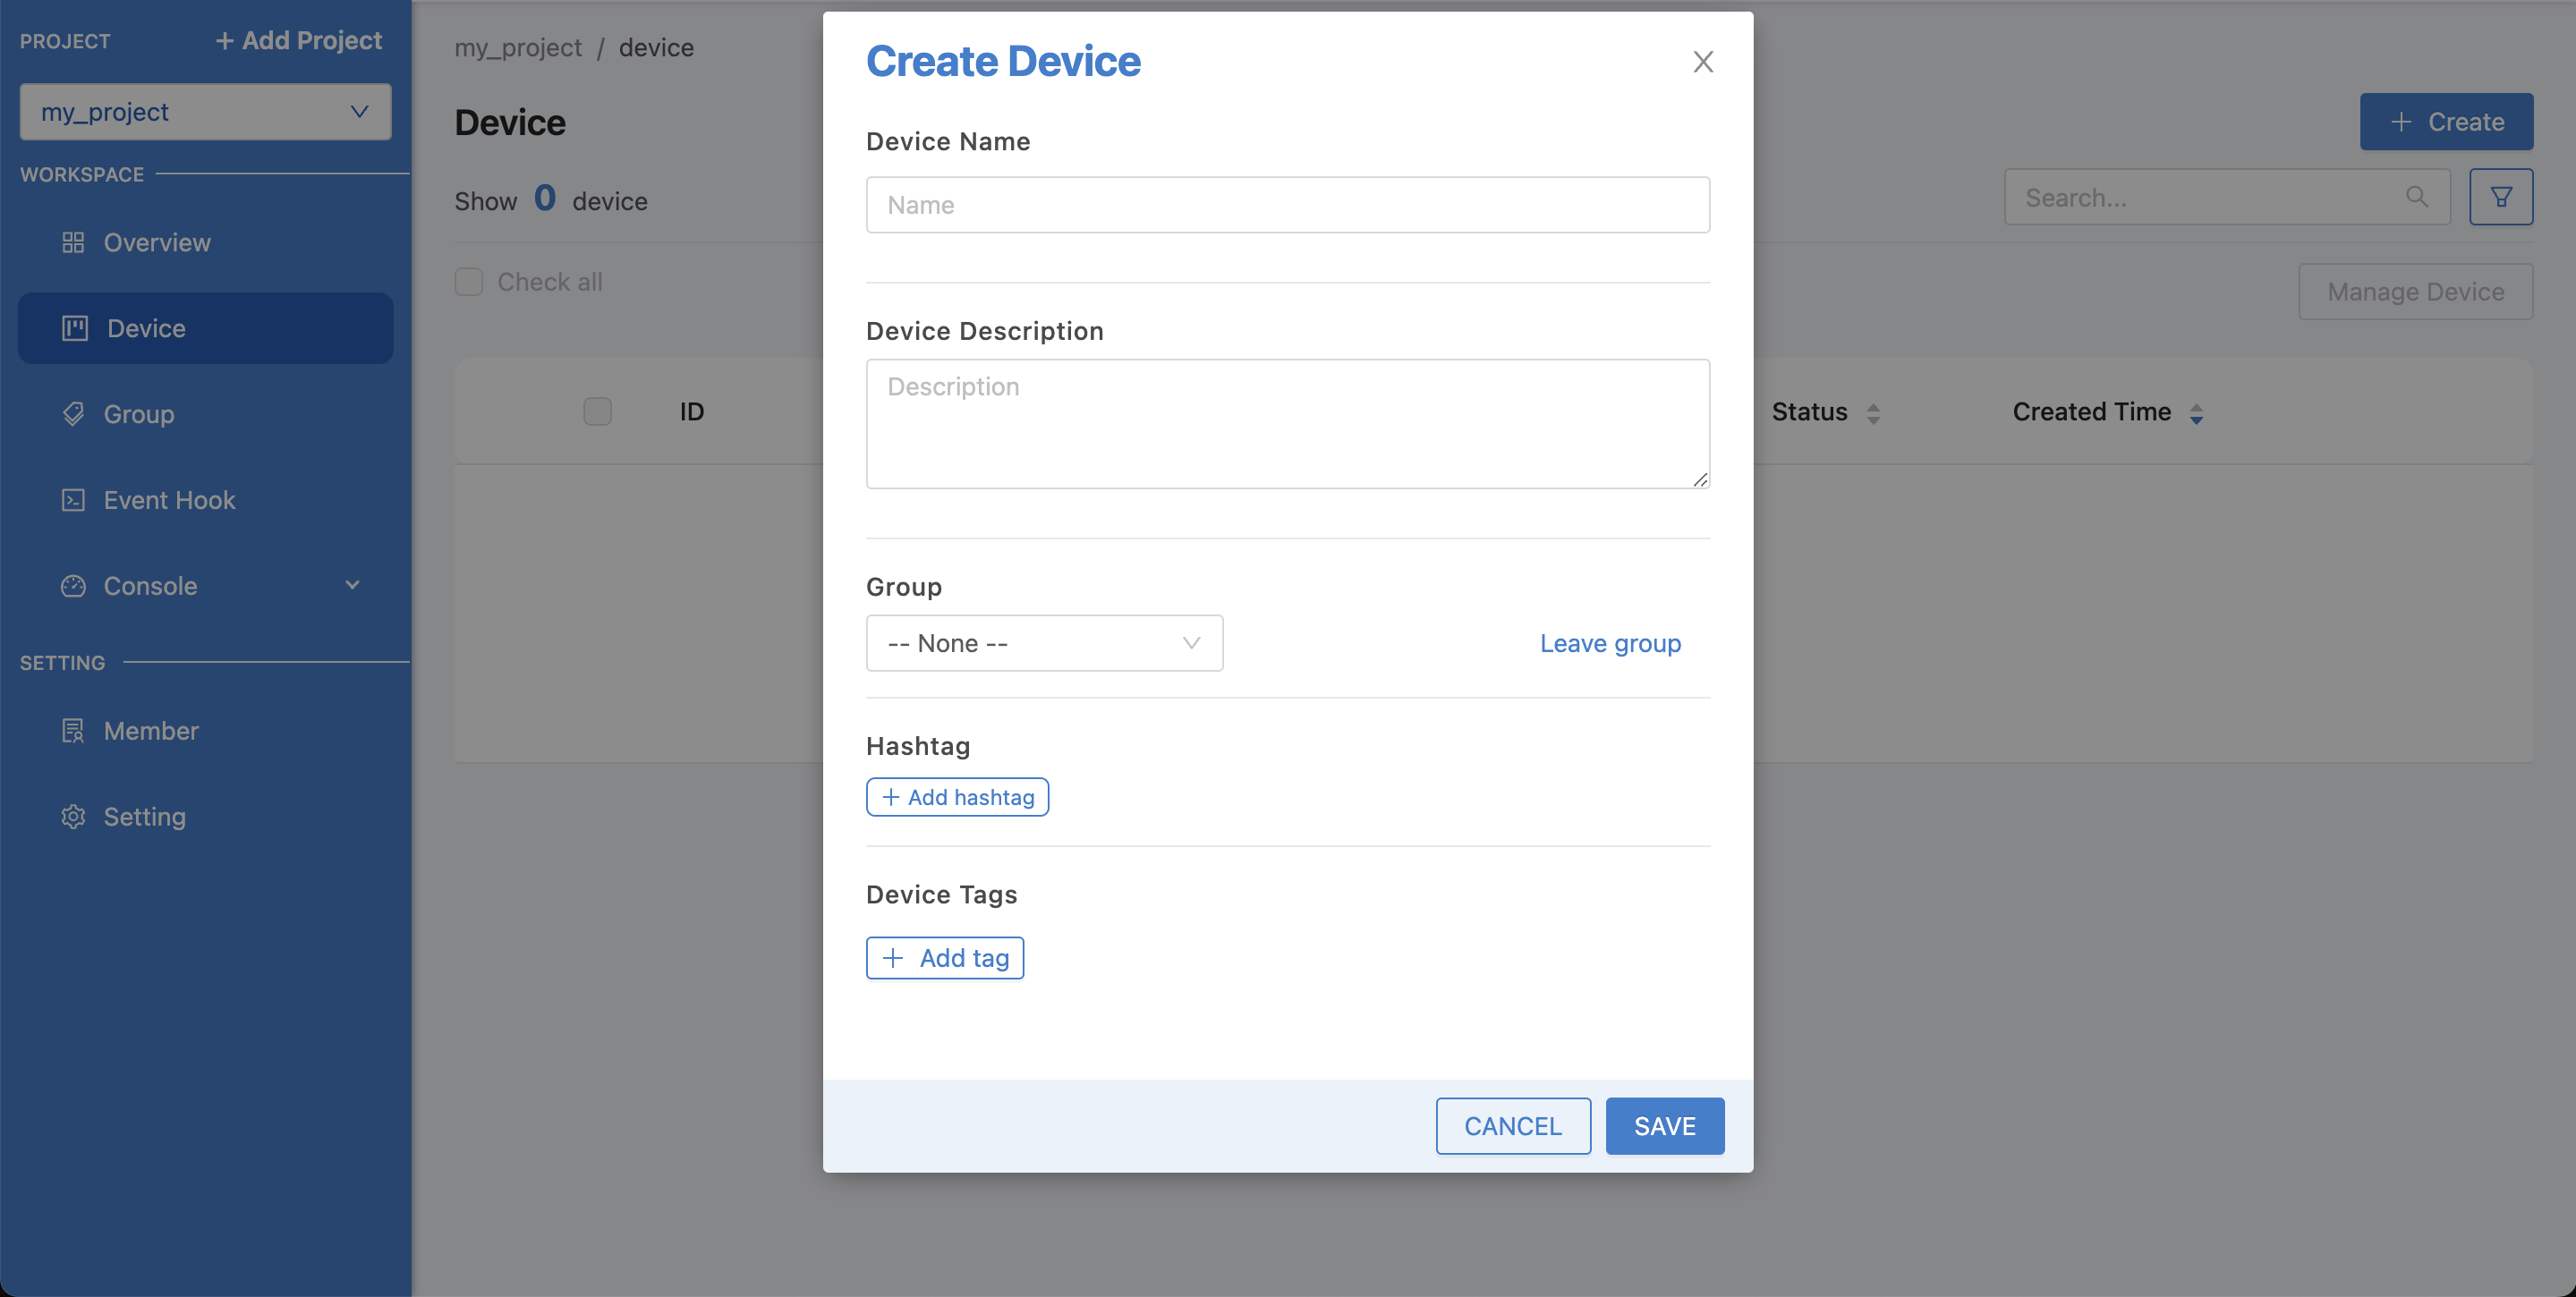
Fill in the Device information and then click on the "SAVE" button. The system will create the Device for you.
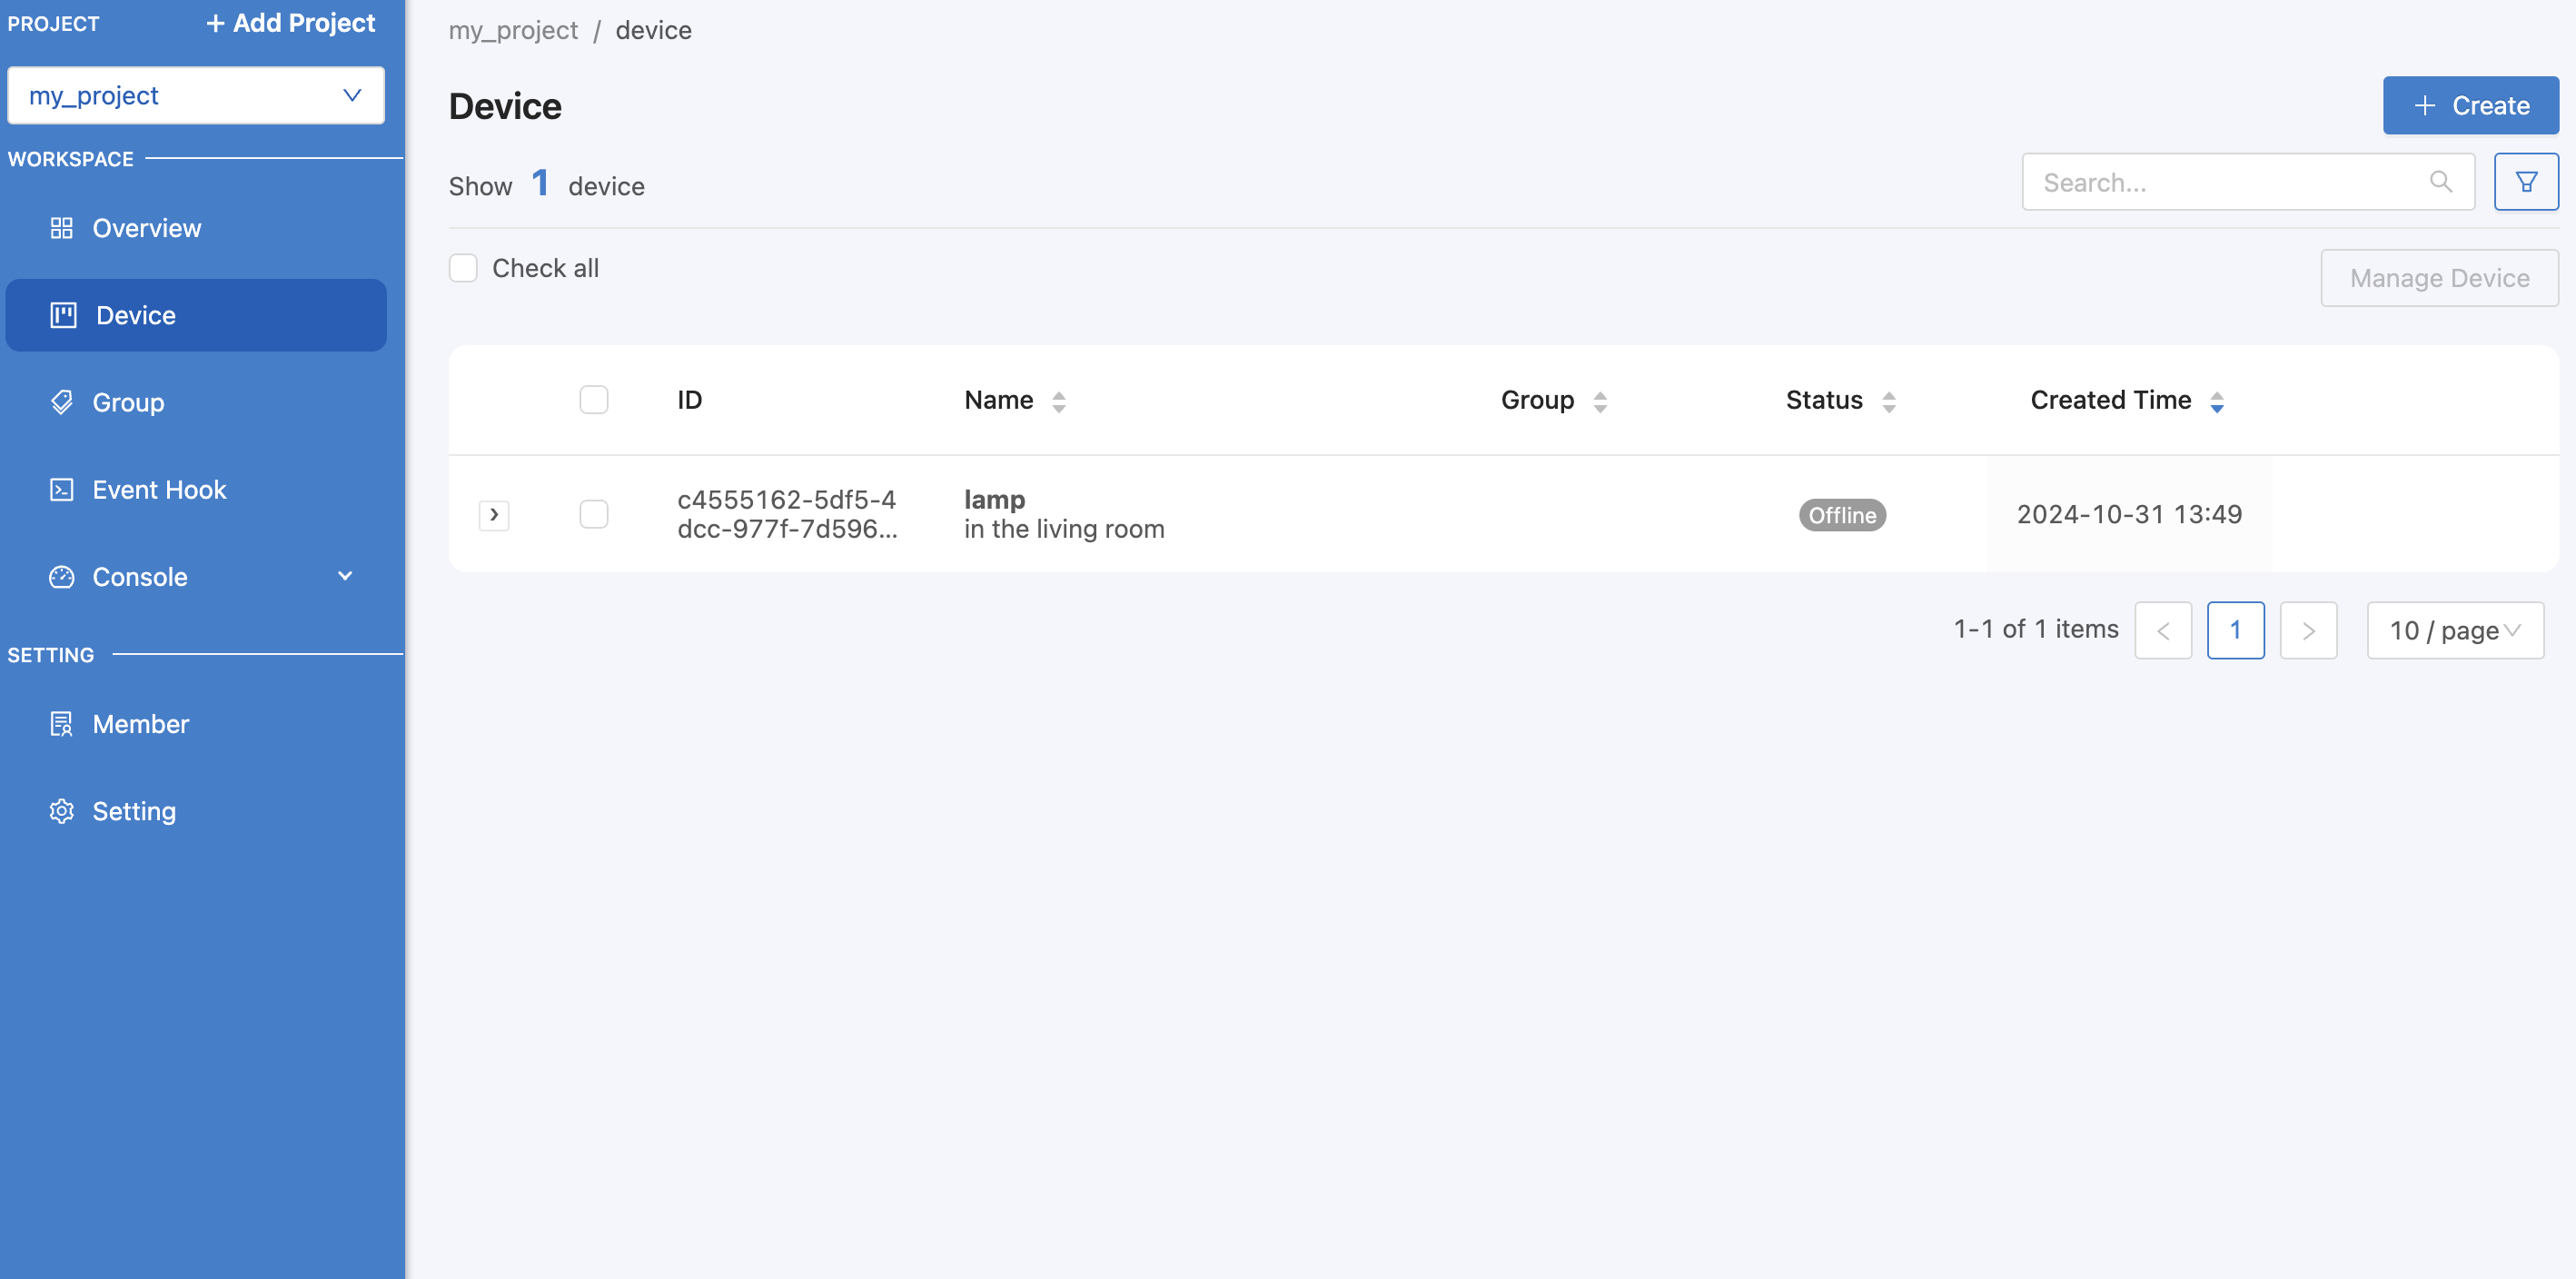
Click on the Device, a screen will appear showing the details of the Device, including the Key, Token, and Secret that will be used to allow the Device to connect to the Platform.
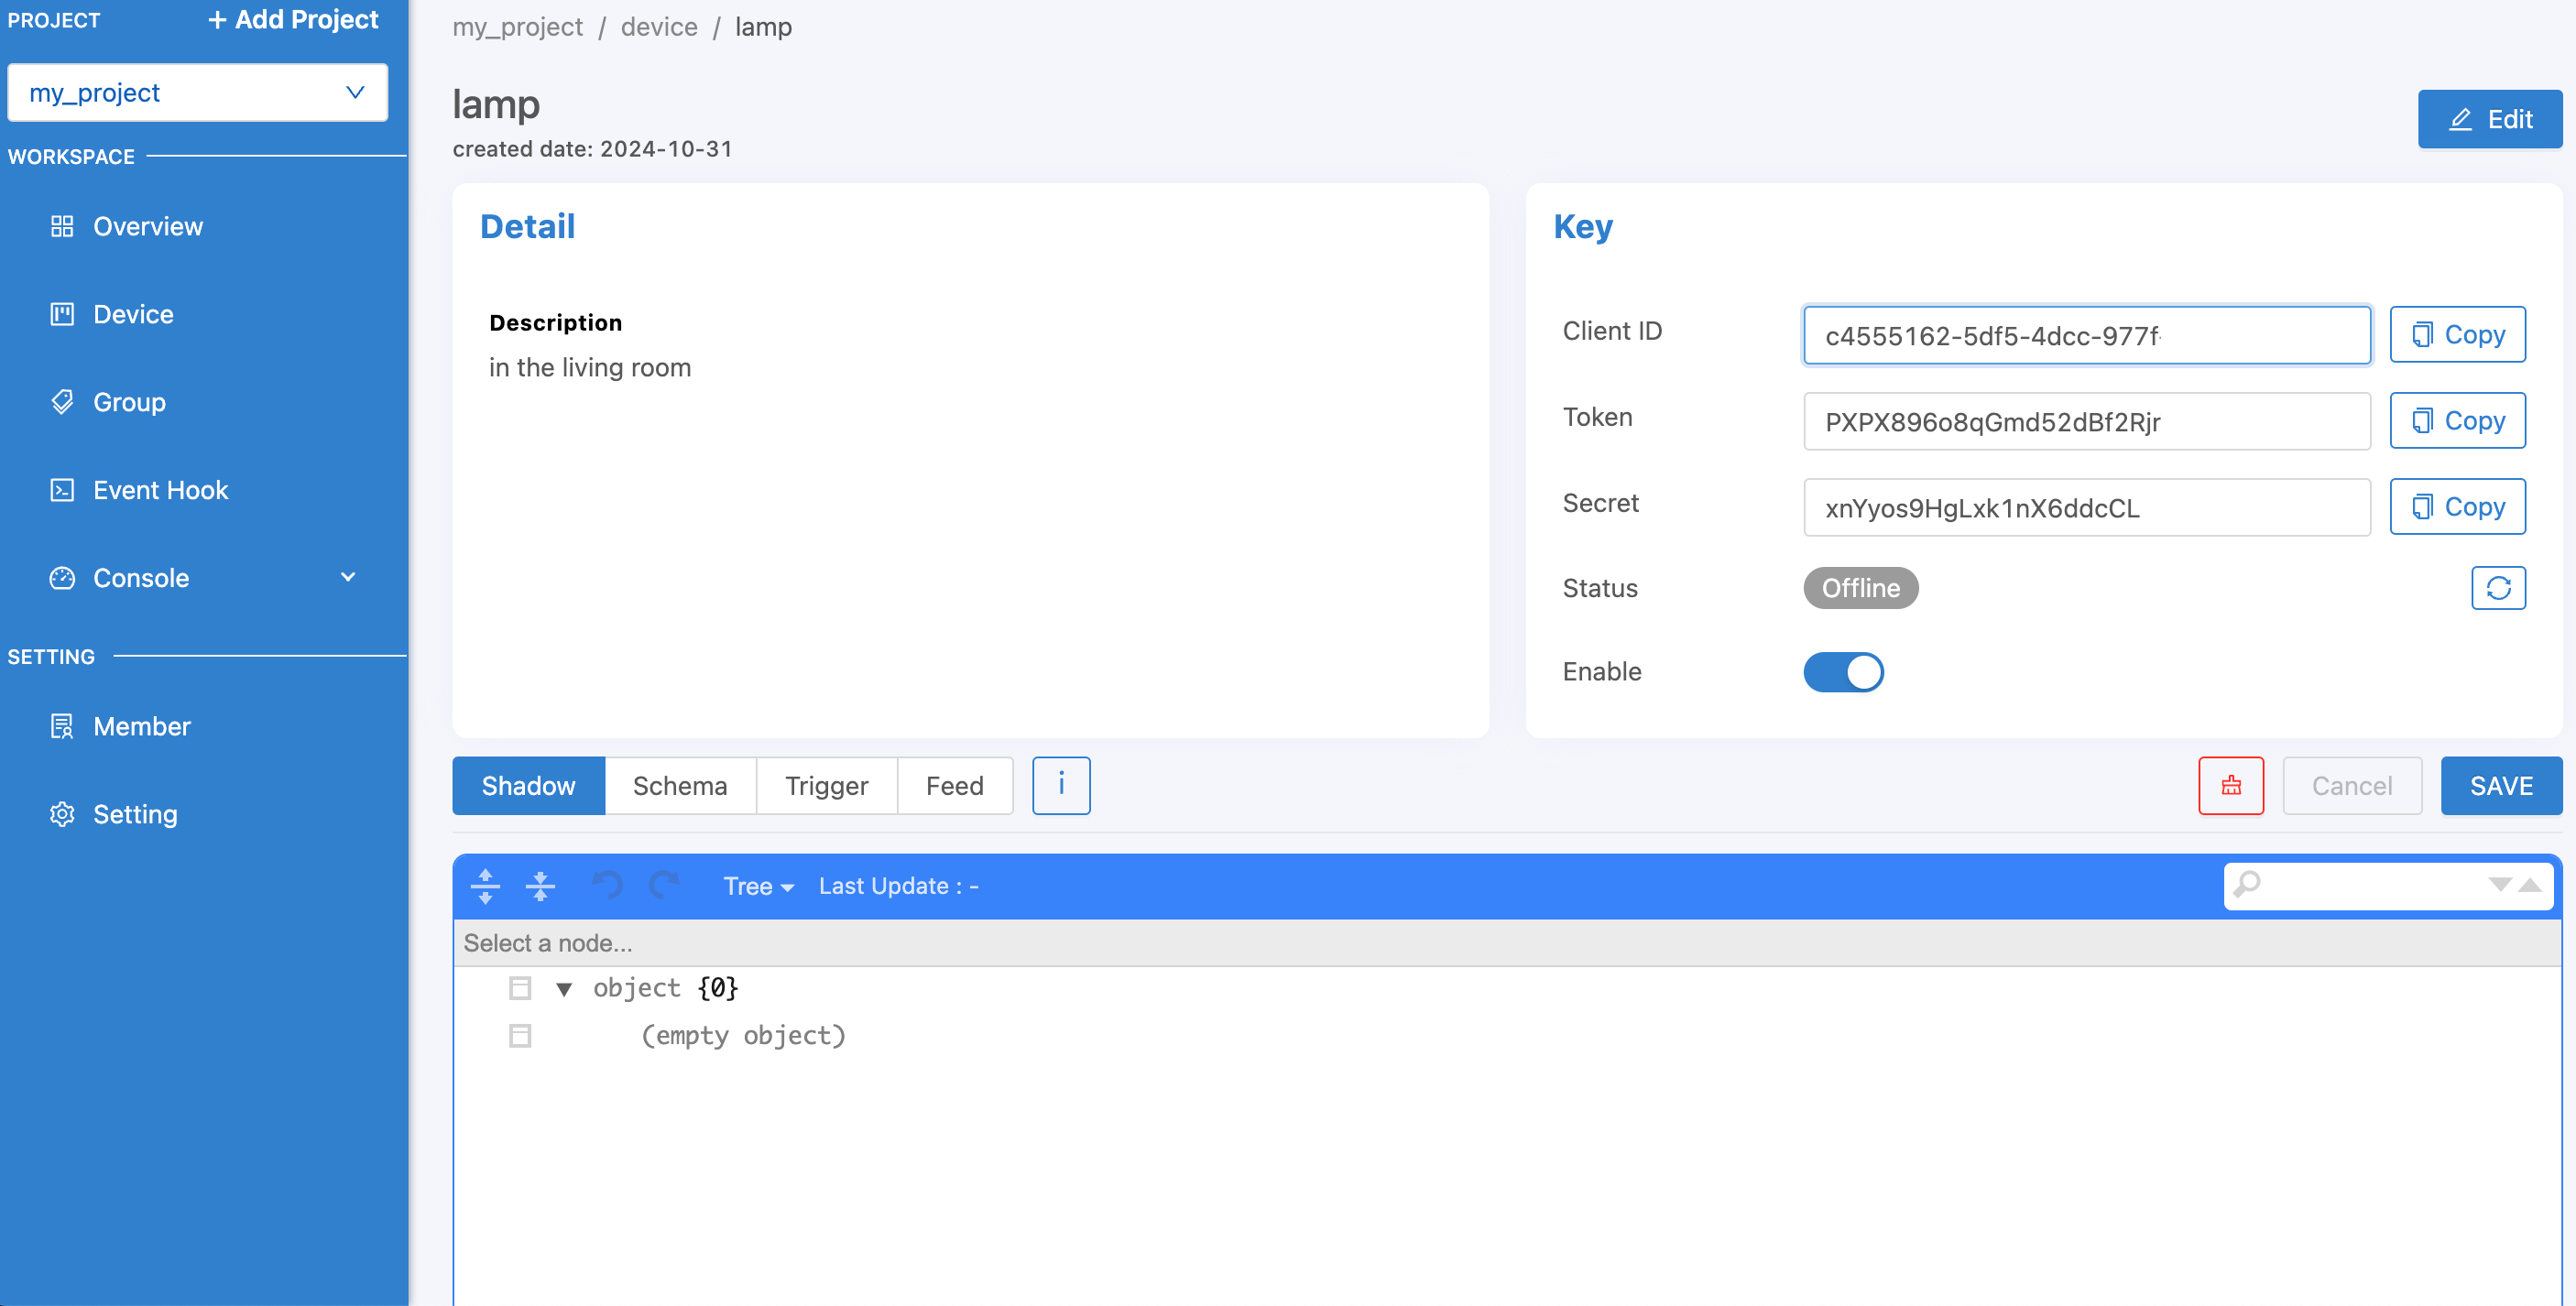
Applying Key to Device to Connect Platform
The key used to connect the device platform is the Key.
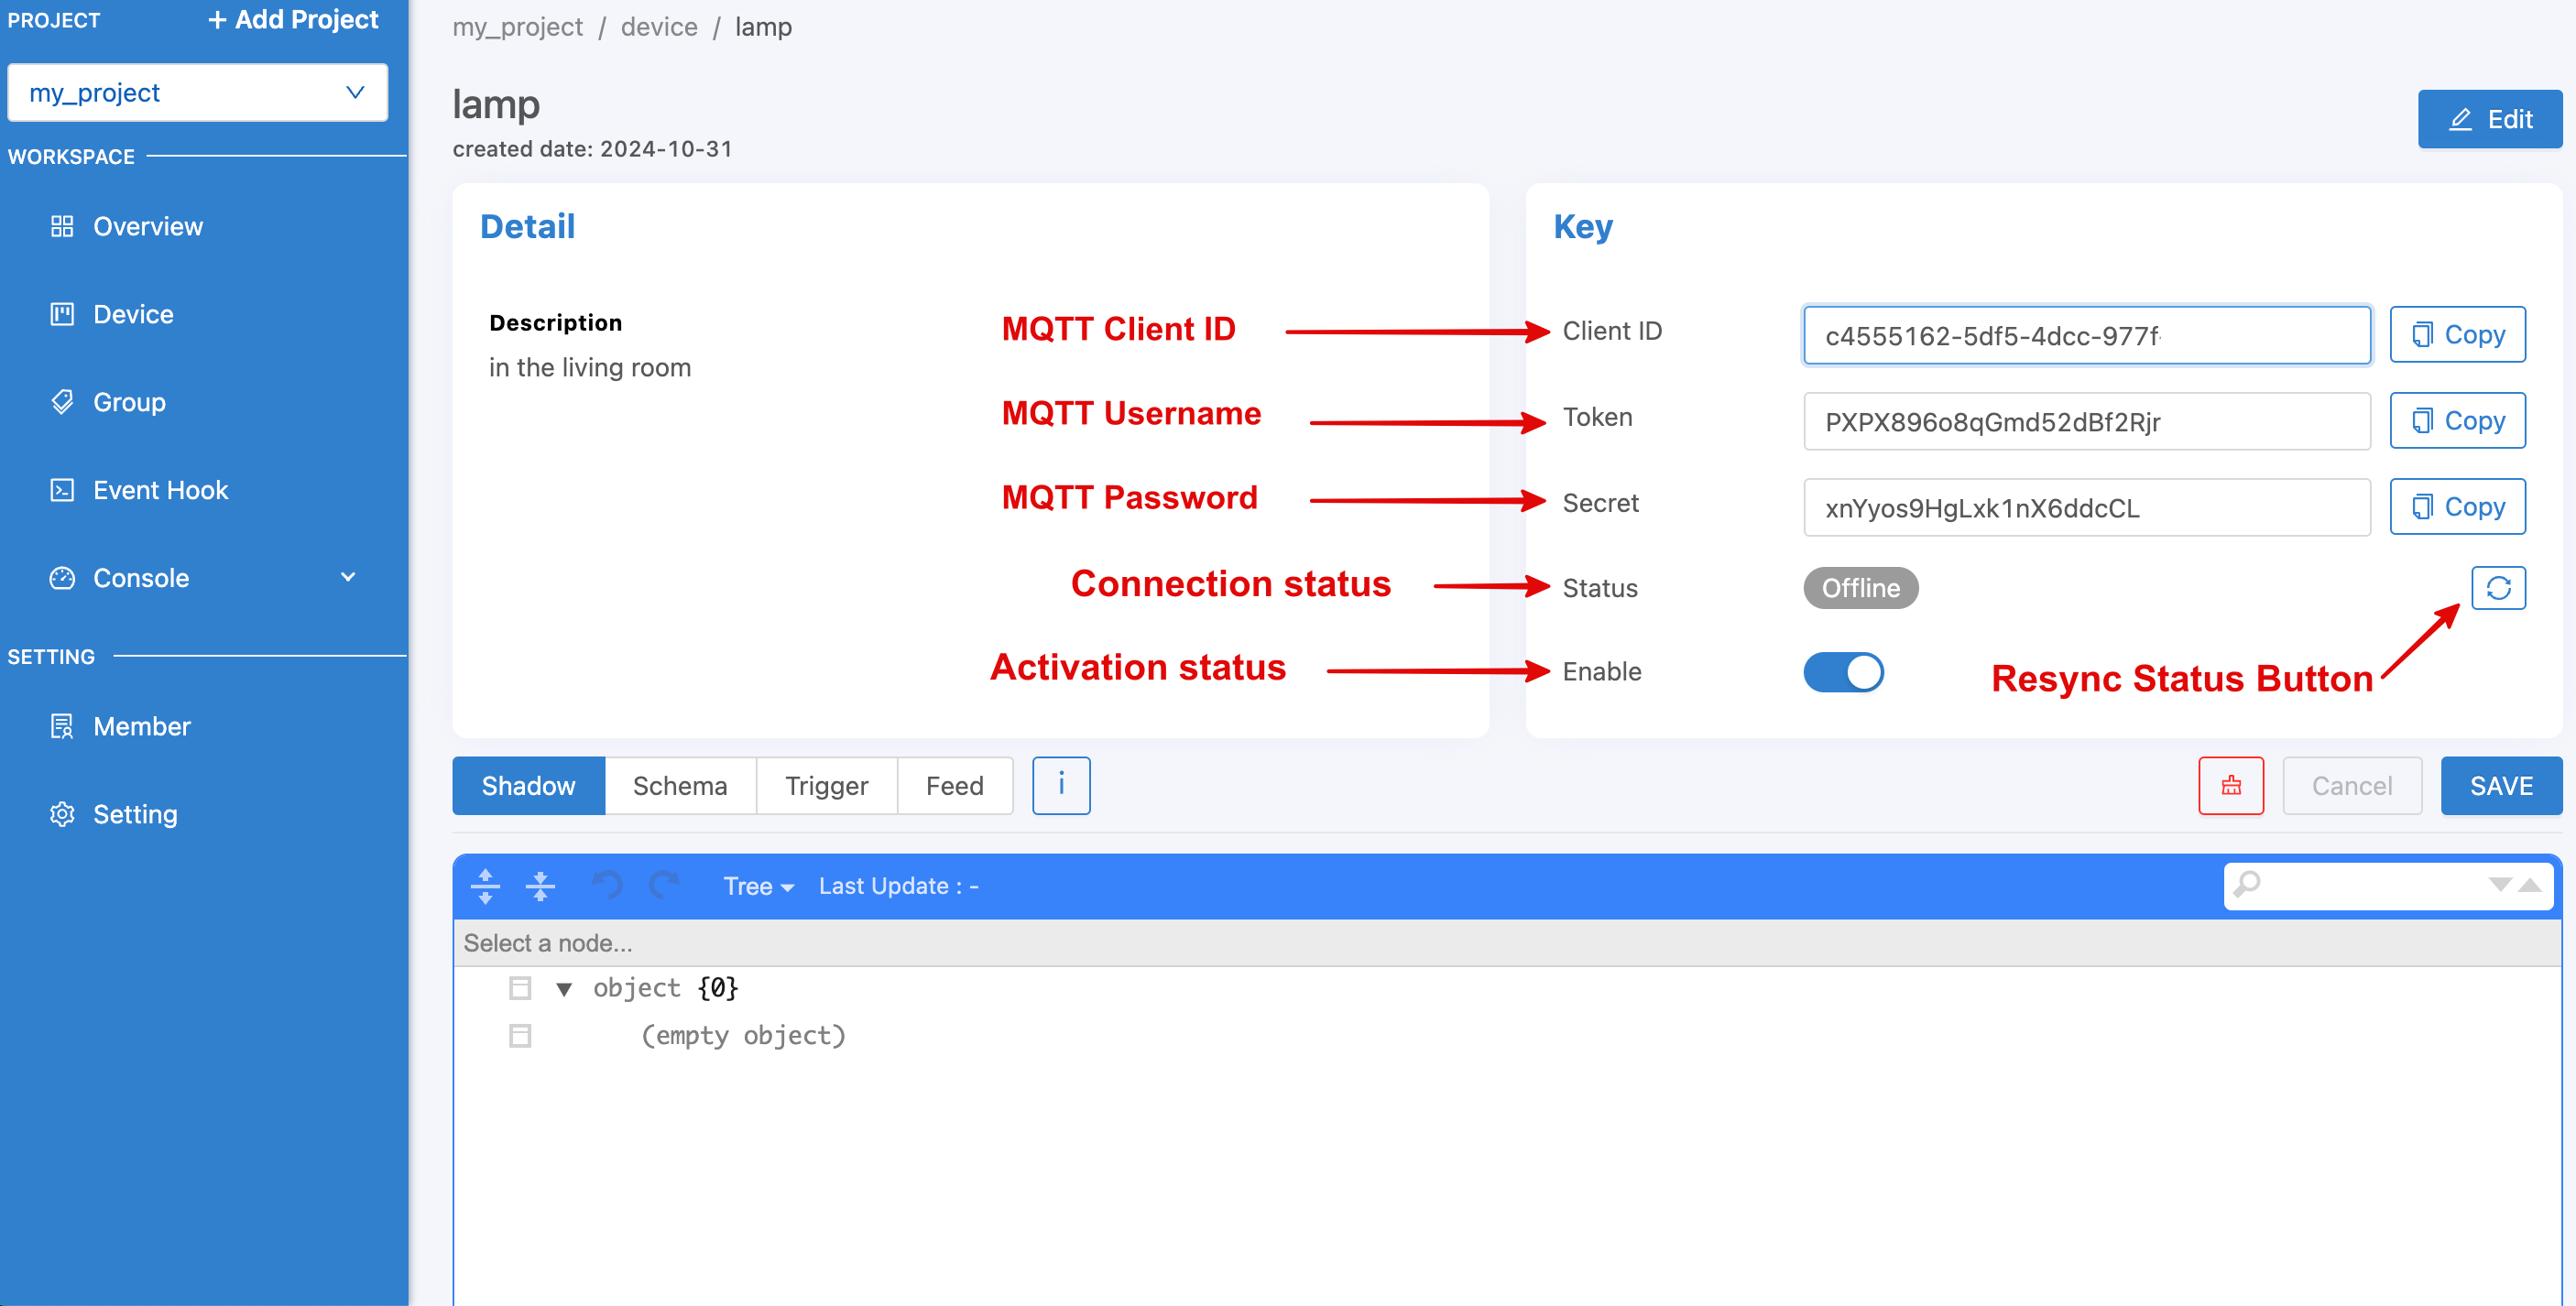
Key is used for connecting the Device to the Platform. In case of connecting via MQTT Protocol, select the MQTT Client Library that is appropriate or supports the Device to be used for connection. MQTT connection requires 4 Paramters: Host, Client ID, Username and Password. Look at the data to be used. You can specify the values as follows:
Host |
mqtt.nexiiot.io |
Port |
1883 (mqtt), 1884 (mqtts) |
Client ID |
Client ID of the Device created in NEXIIOT |
Username |
Device Tokens generated in NEXIIOT |
Password |
Not yet specified (used for cases where additional verification is required) |
Try connecting the Platform with MQTTX, which can be downloaded from https://mqttx.app/downloads. Once downloaded, open the program as shown in the figure.
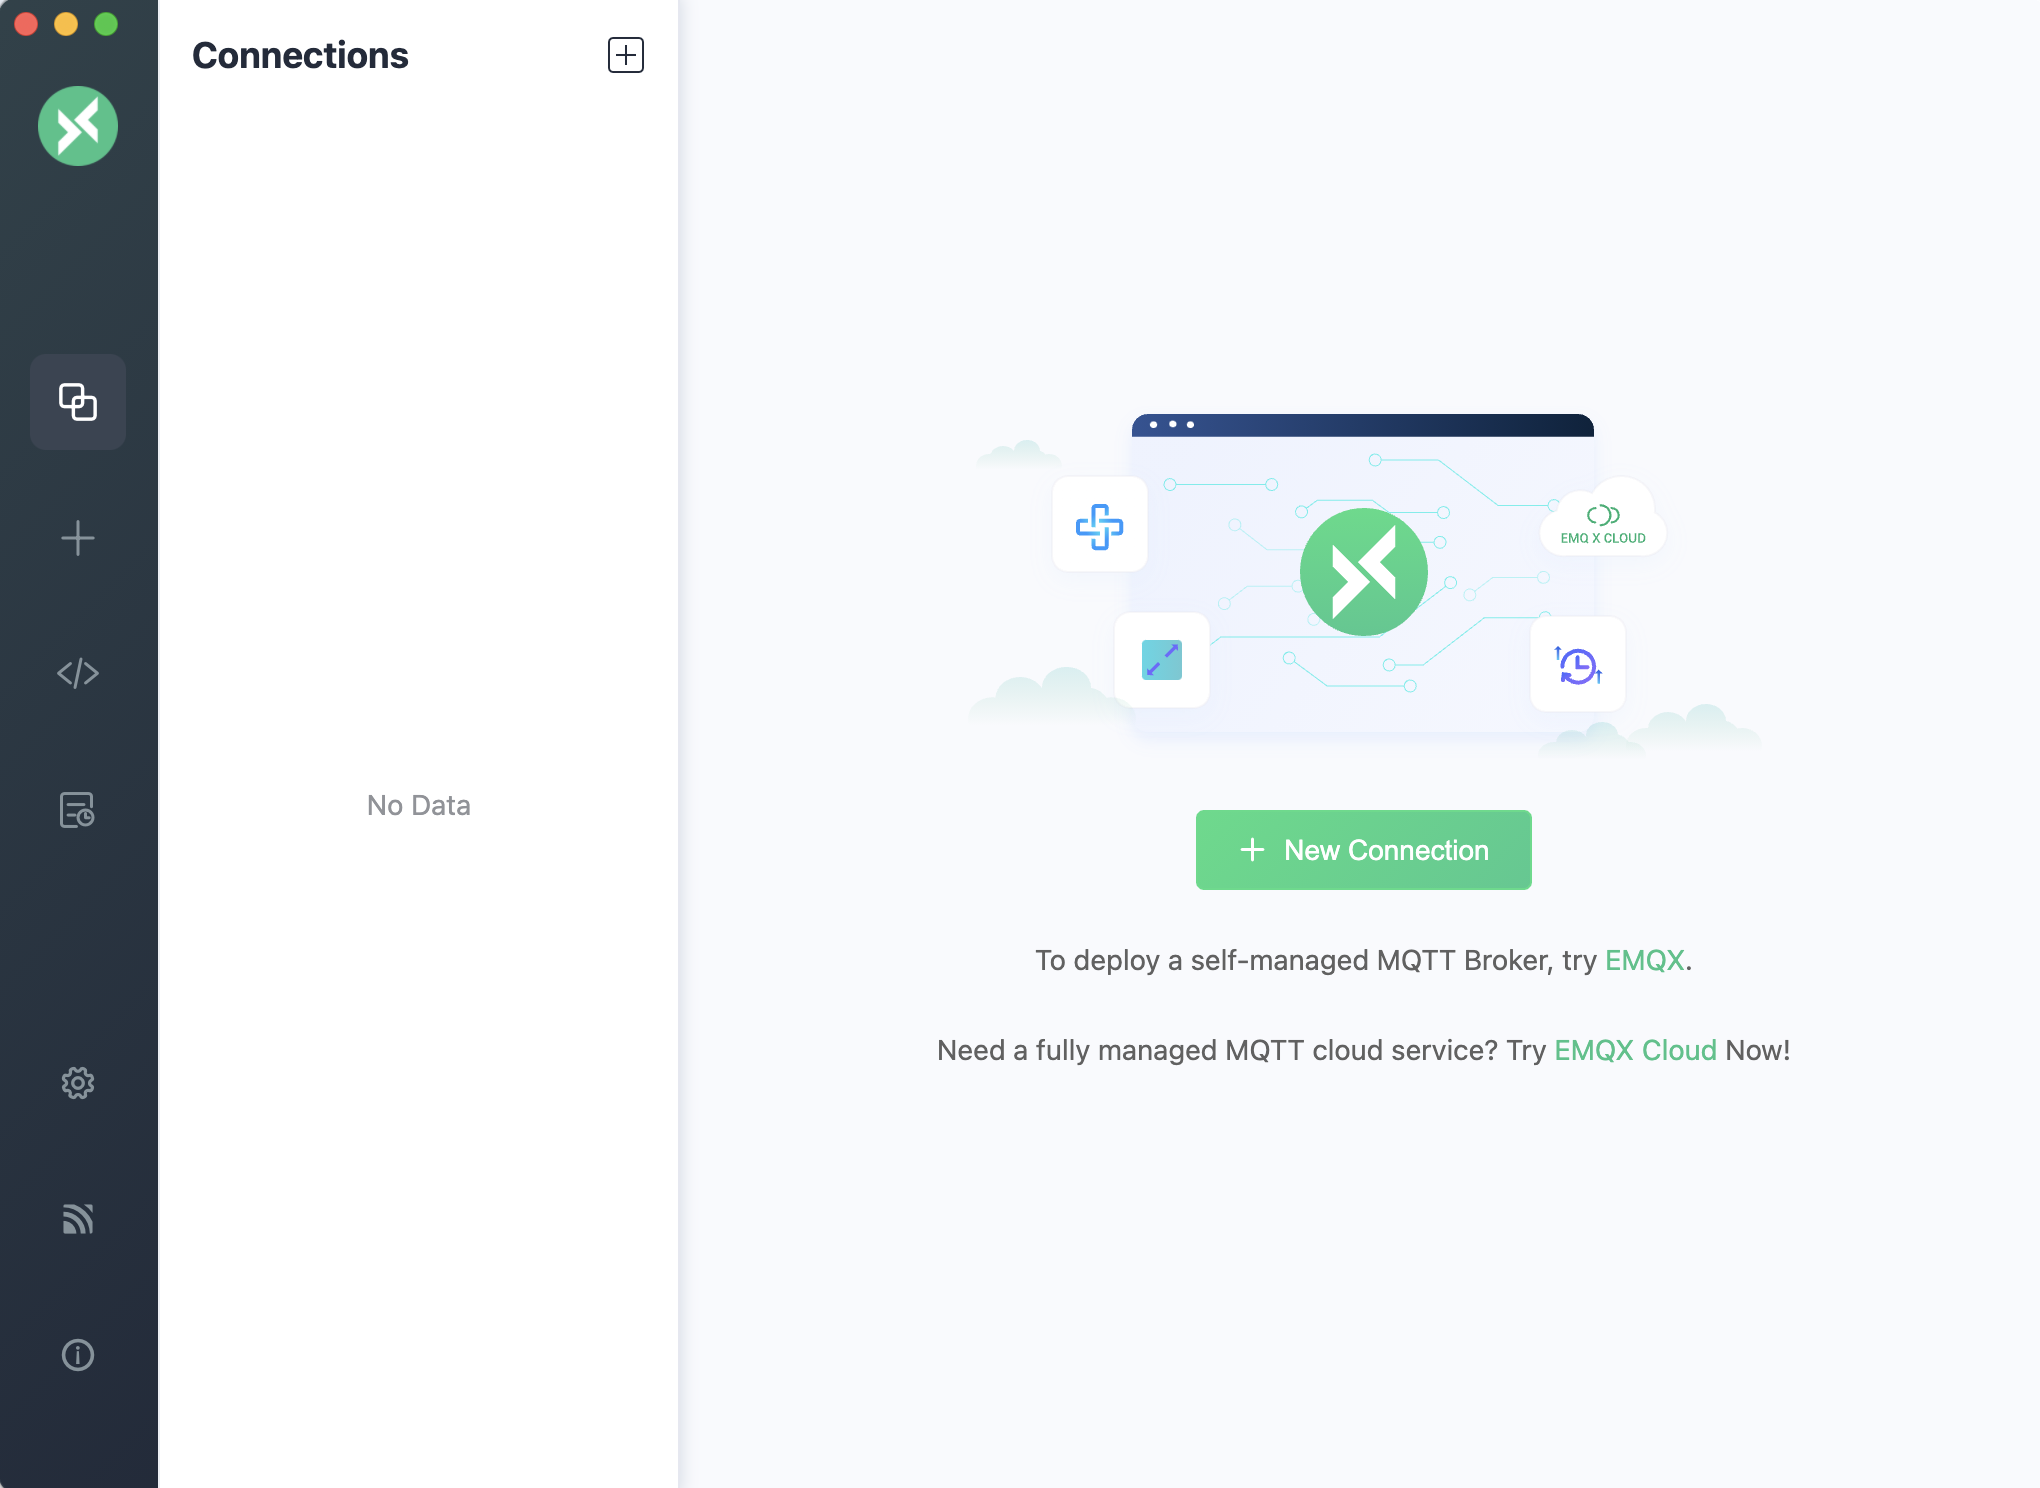
After that click on the "New Connection" button to create a connection to the MQTT Server (in this case NEXIIOT Platform).
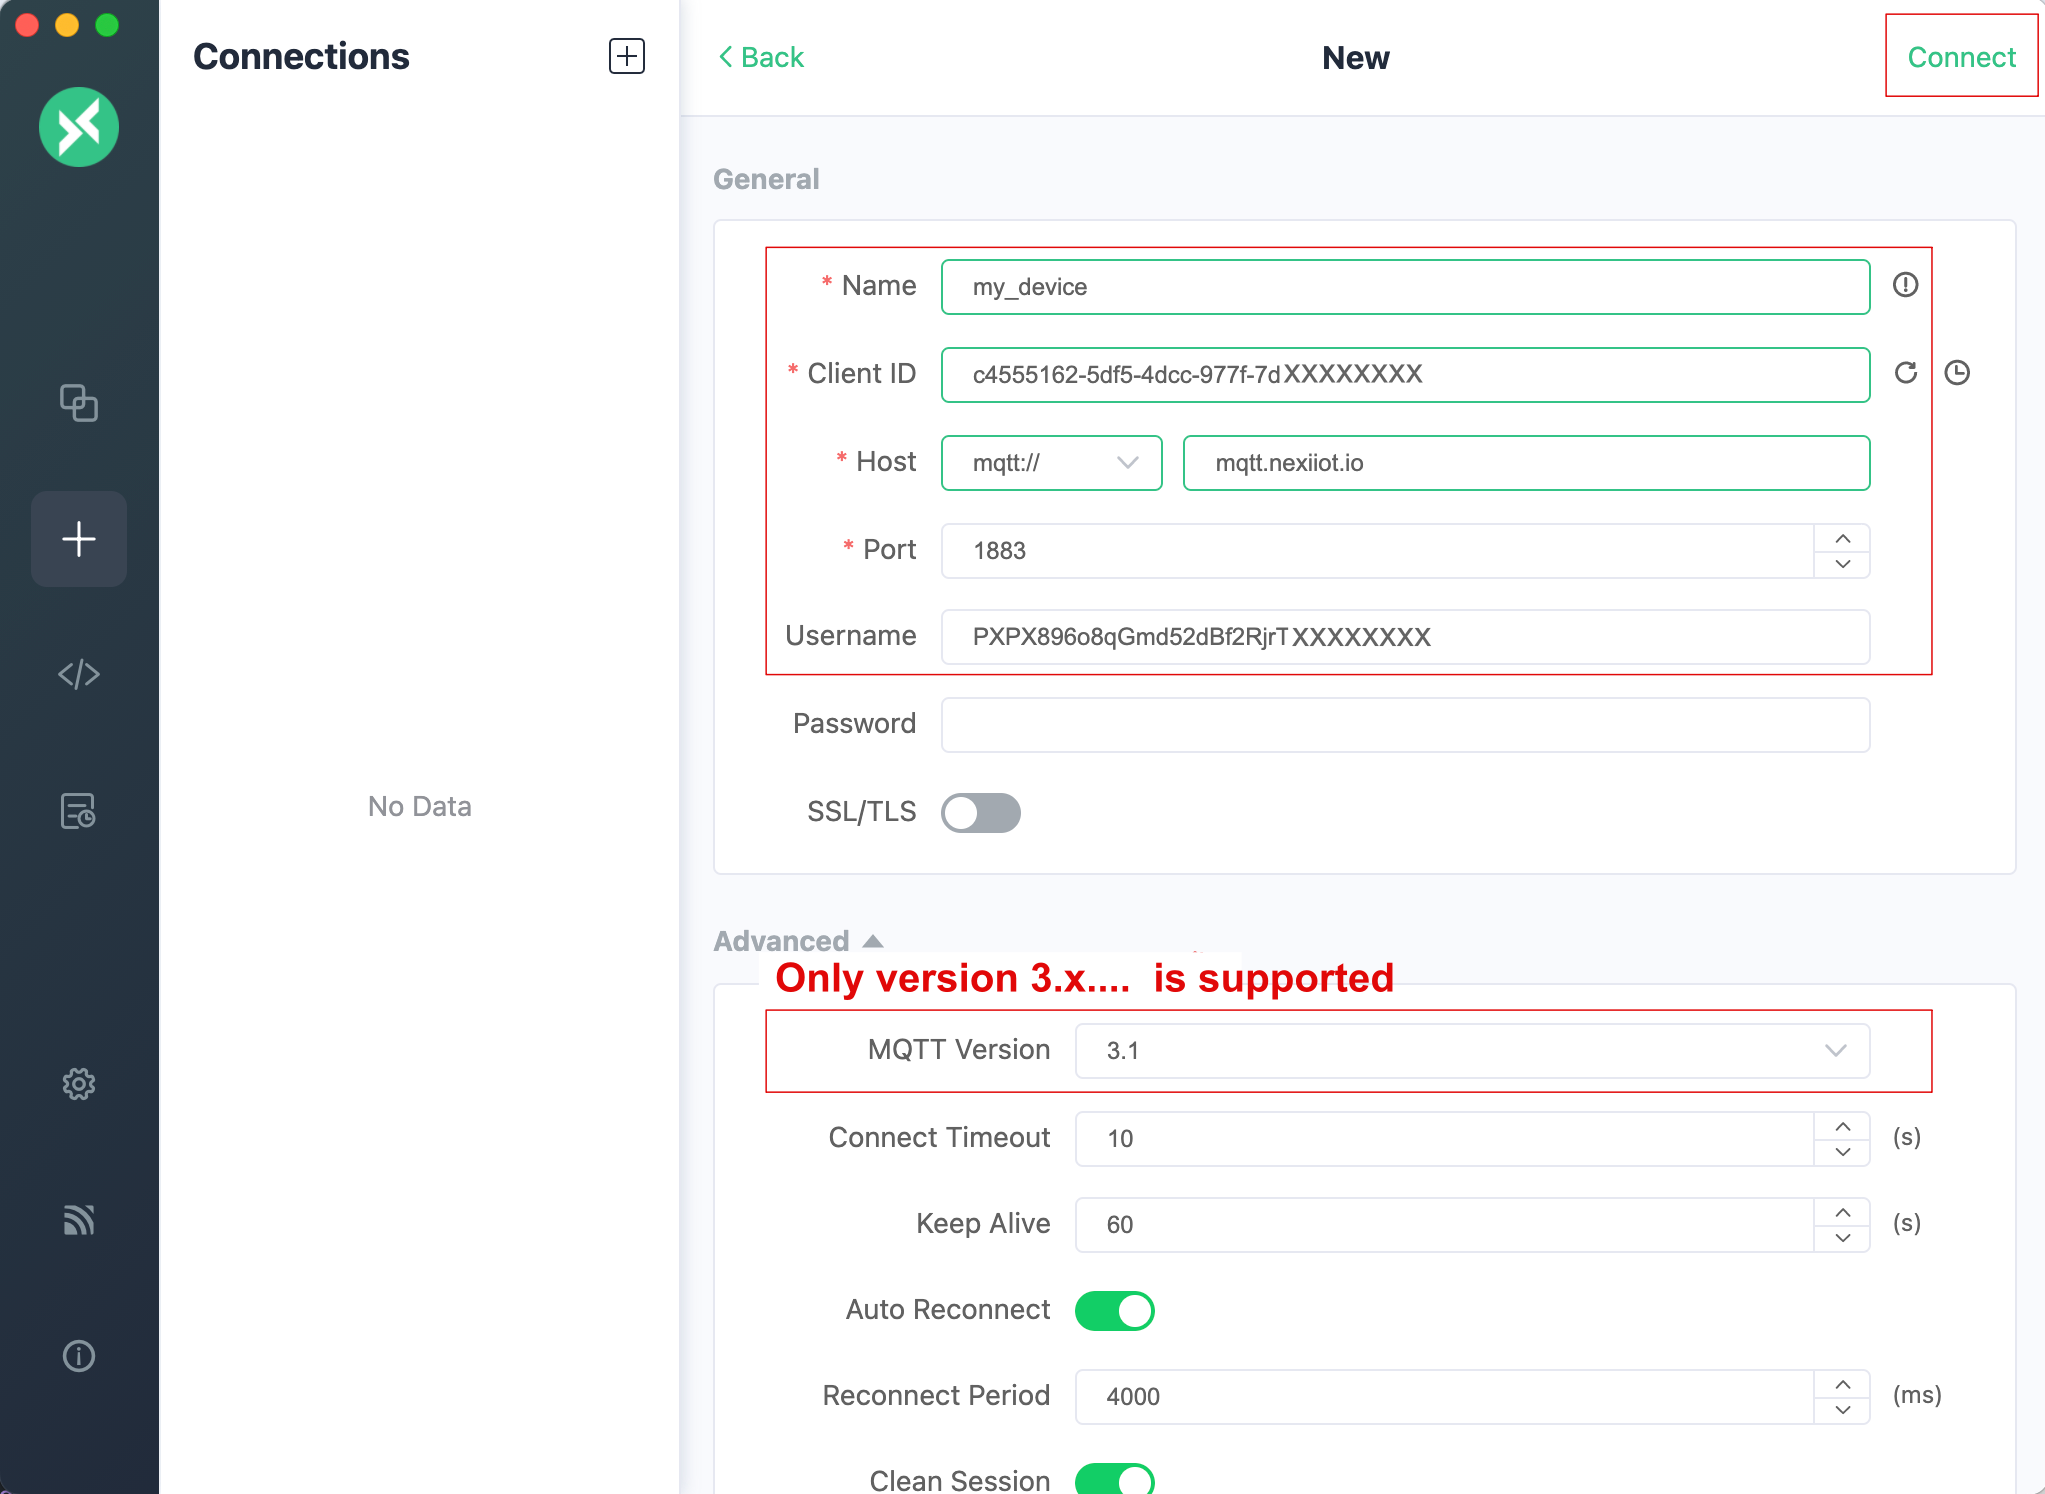
Enter the correct connection values, then click "Connect" to connect the Platform. If the connection is successful, it will look like this:
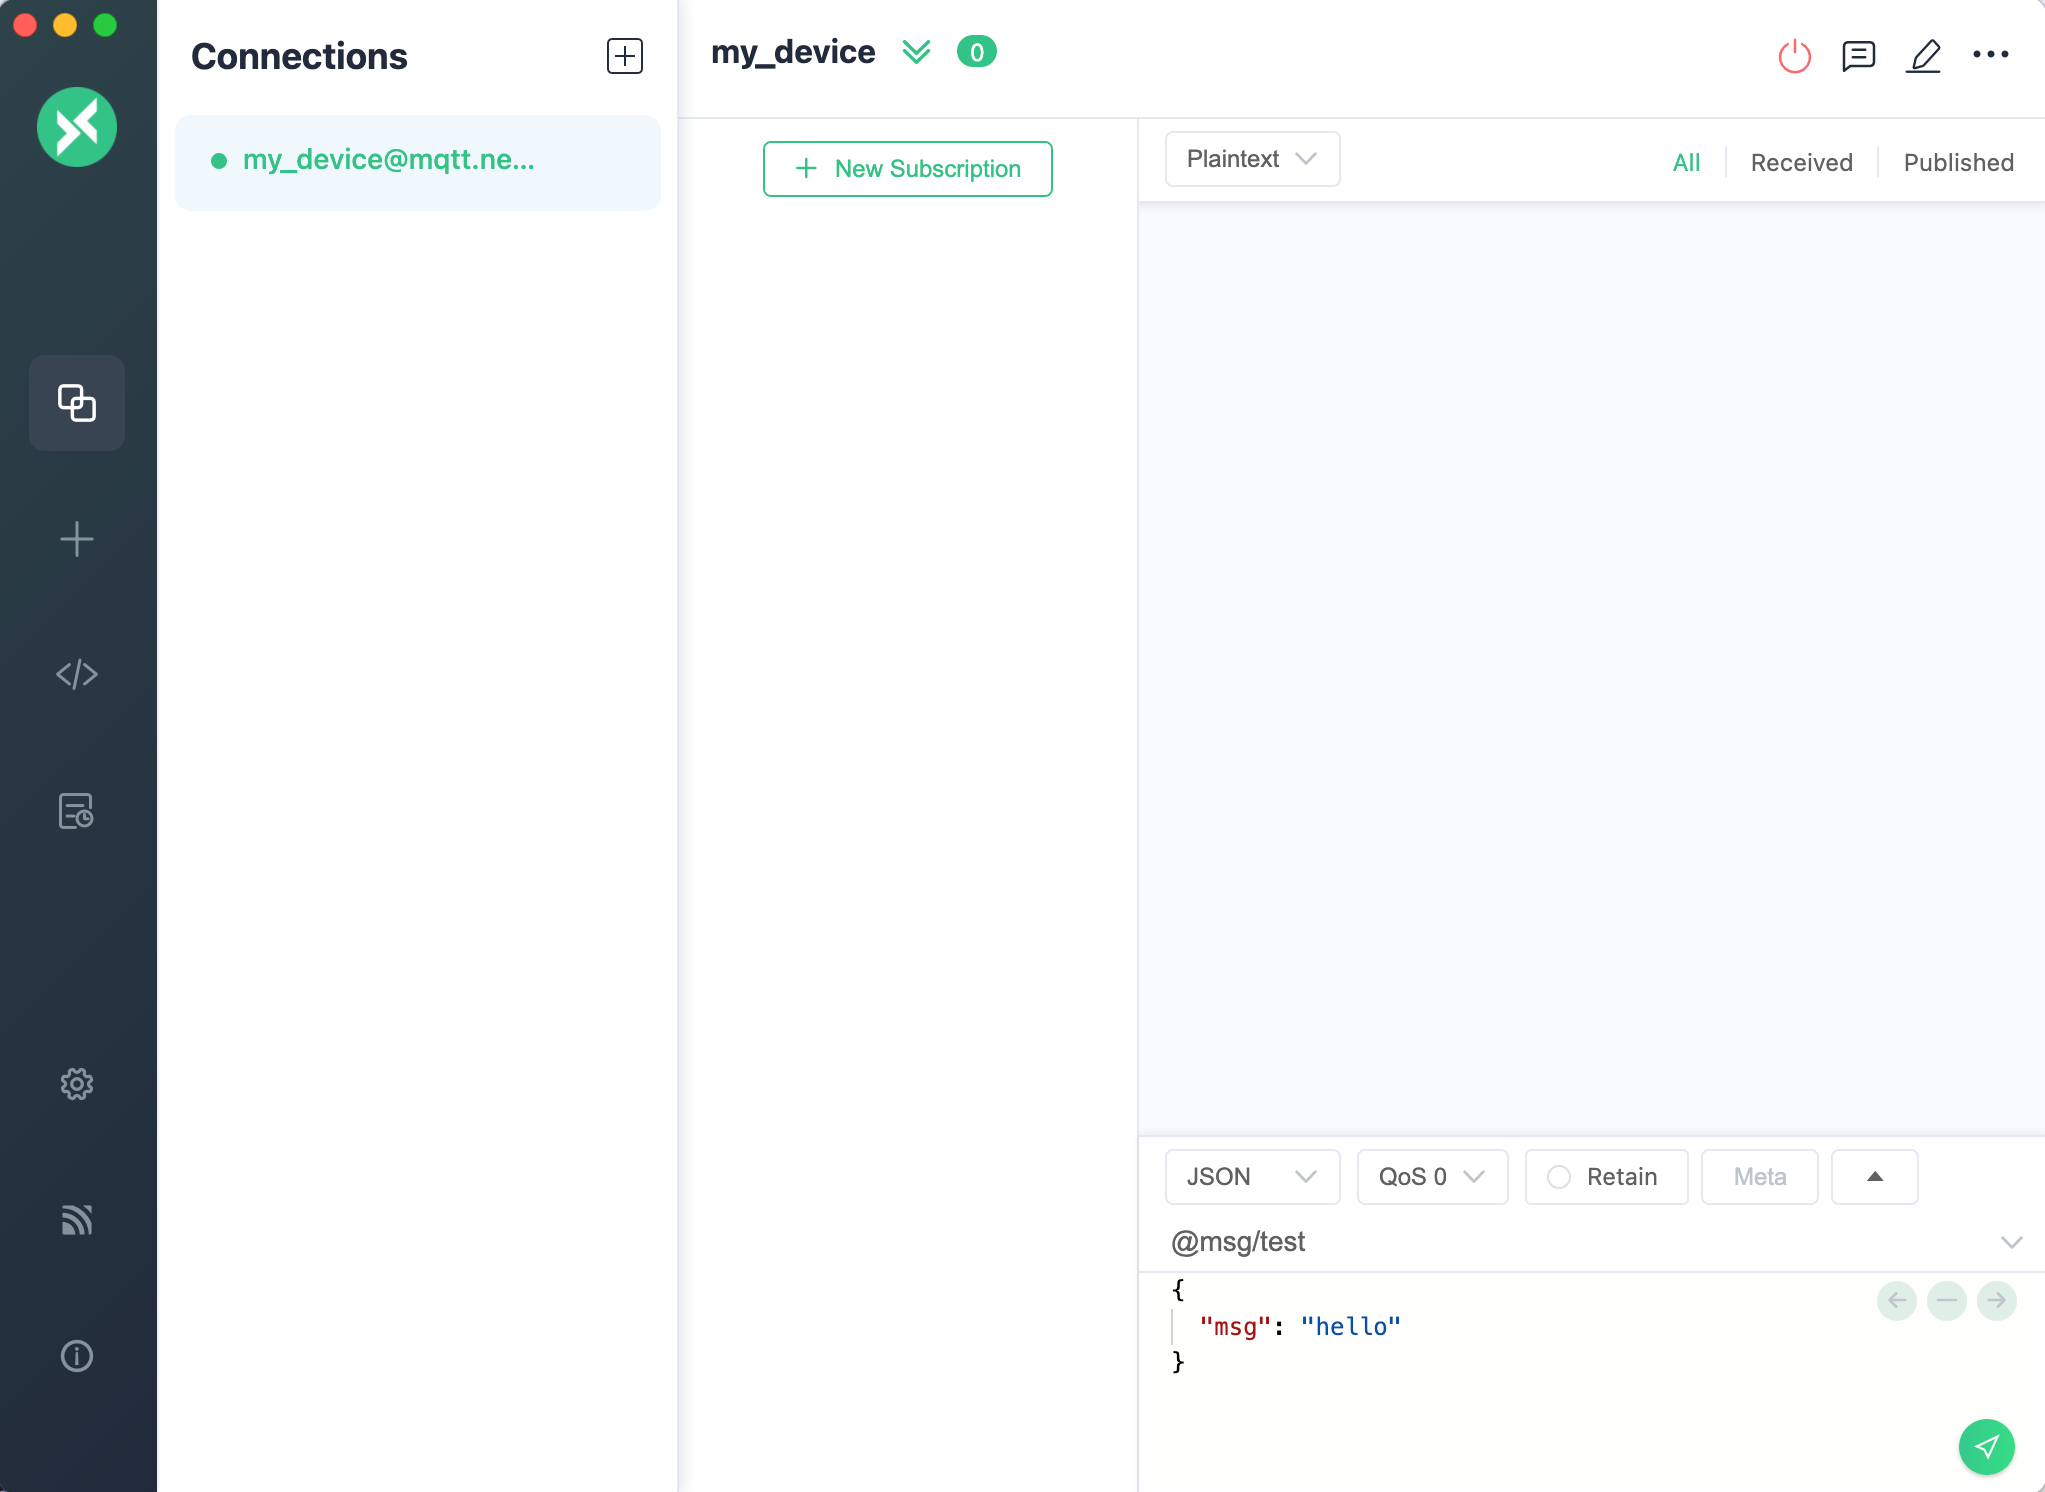
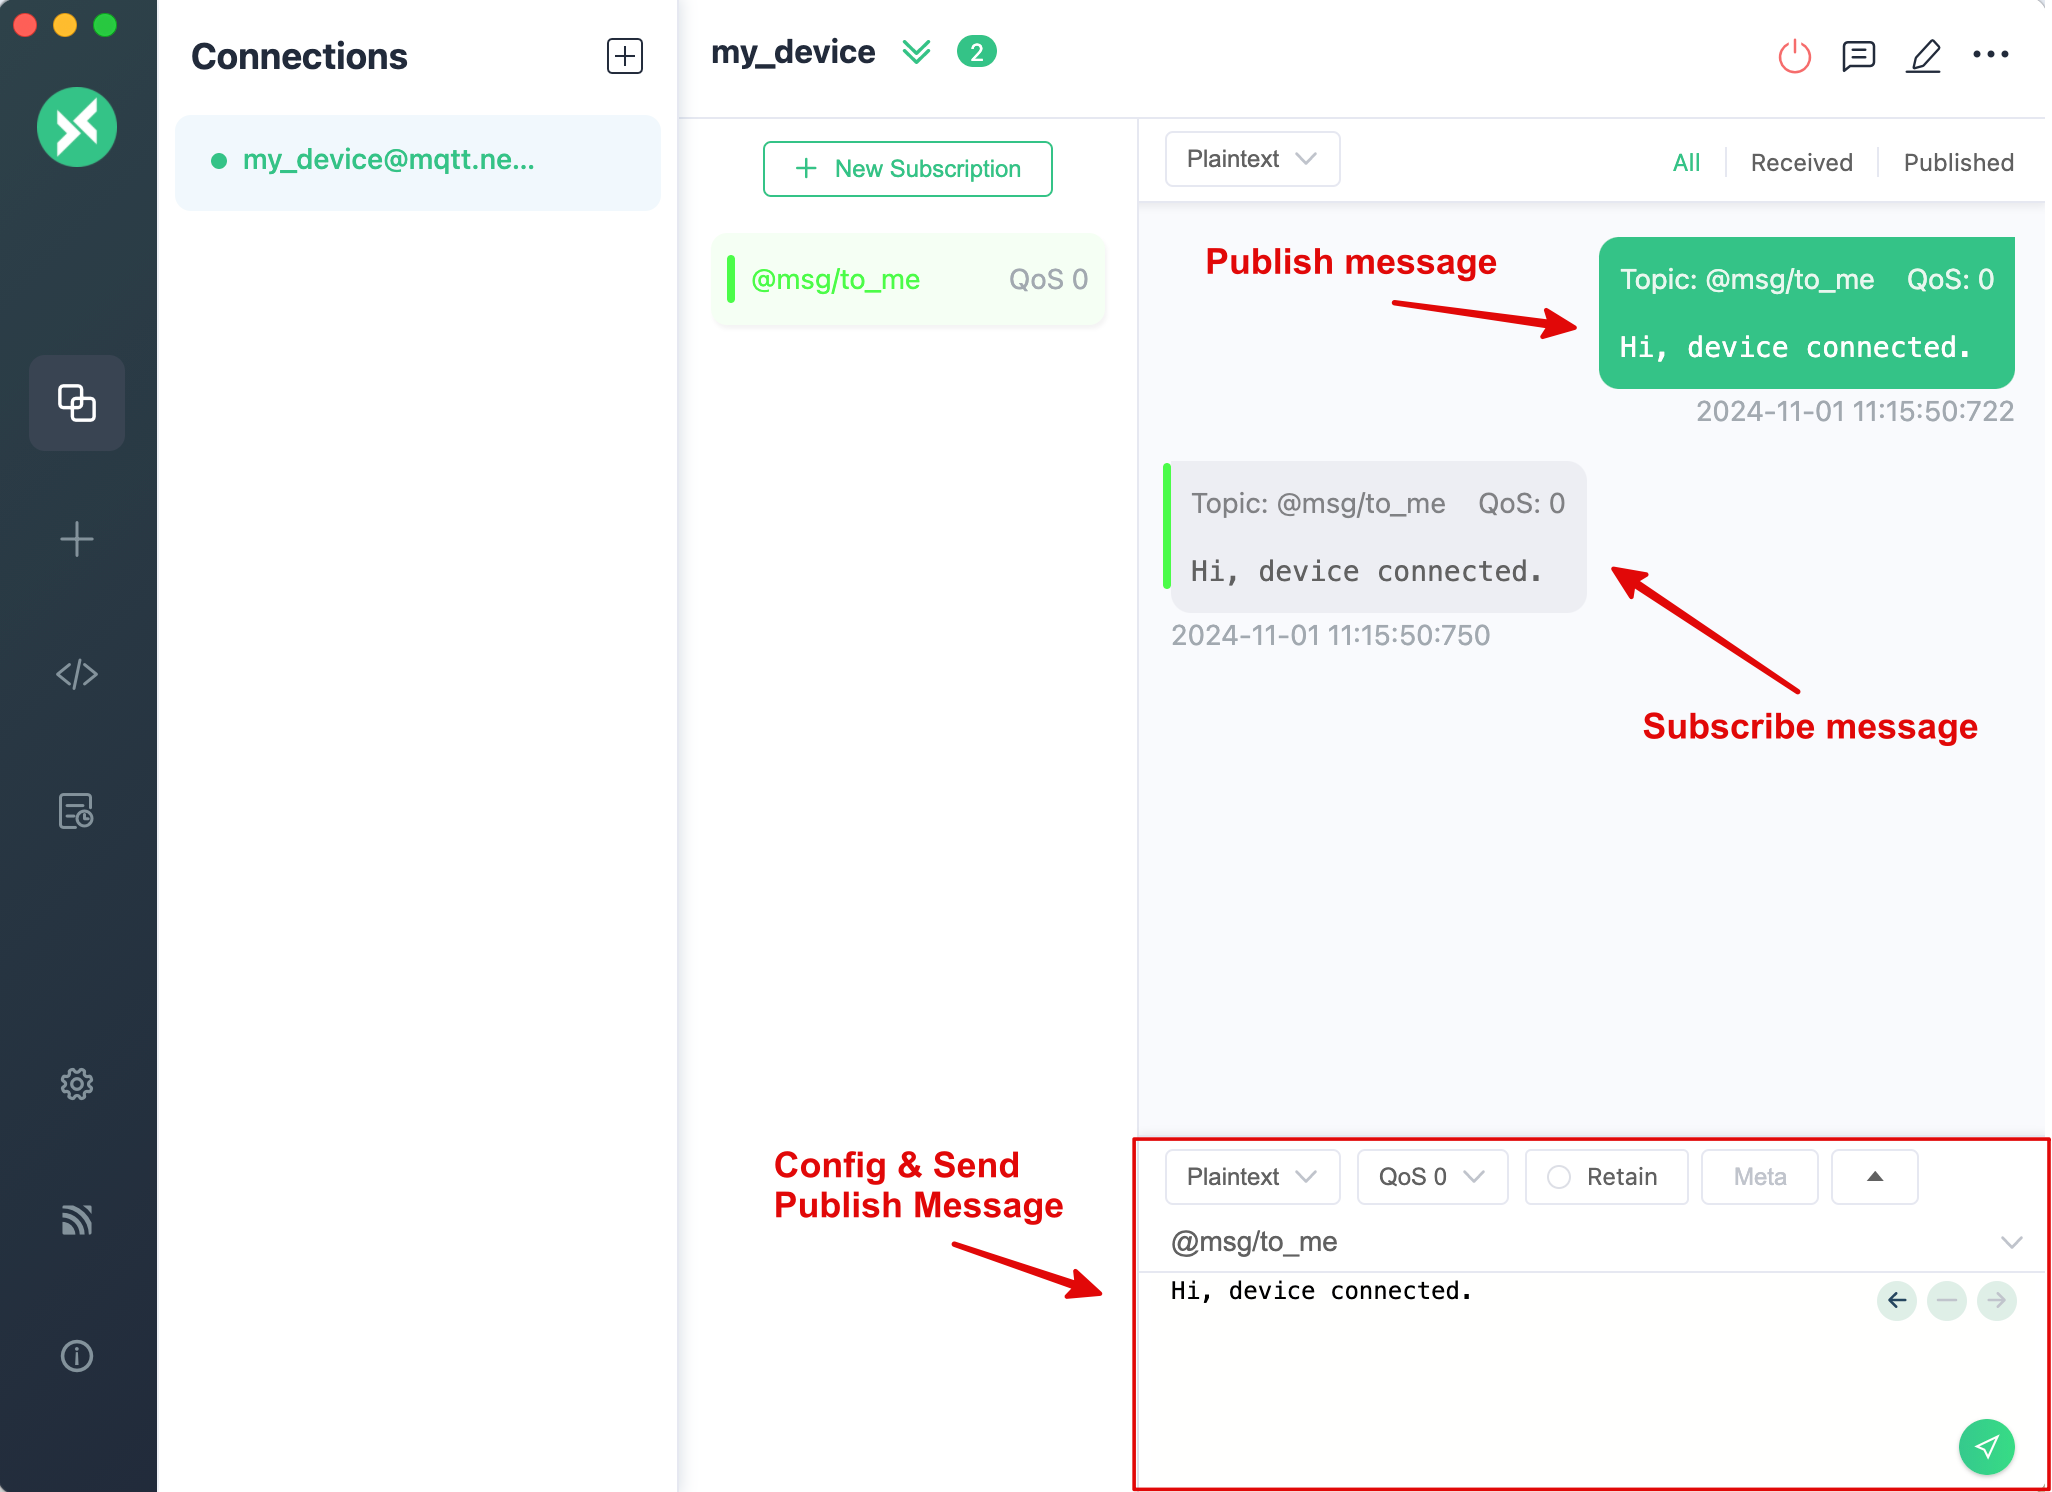
Test that you can actually connect to the Platform by publishing to yourself. Set the Topic to be published/subscribed to be a Topic @msg/ (create "Subscribe" before "Publish").
Communication between Devices
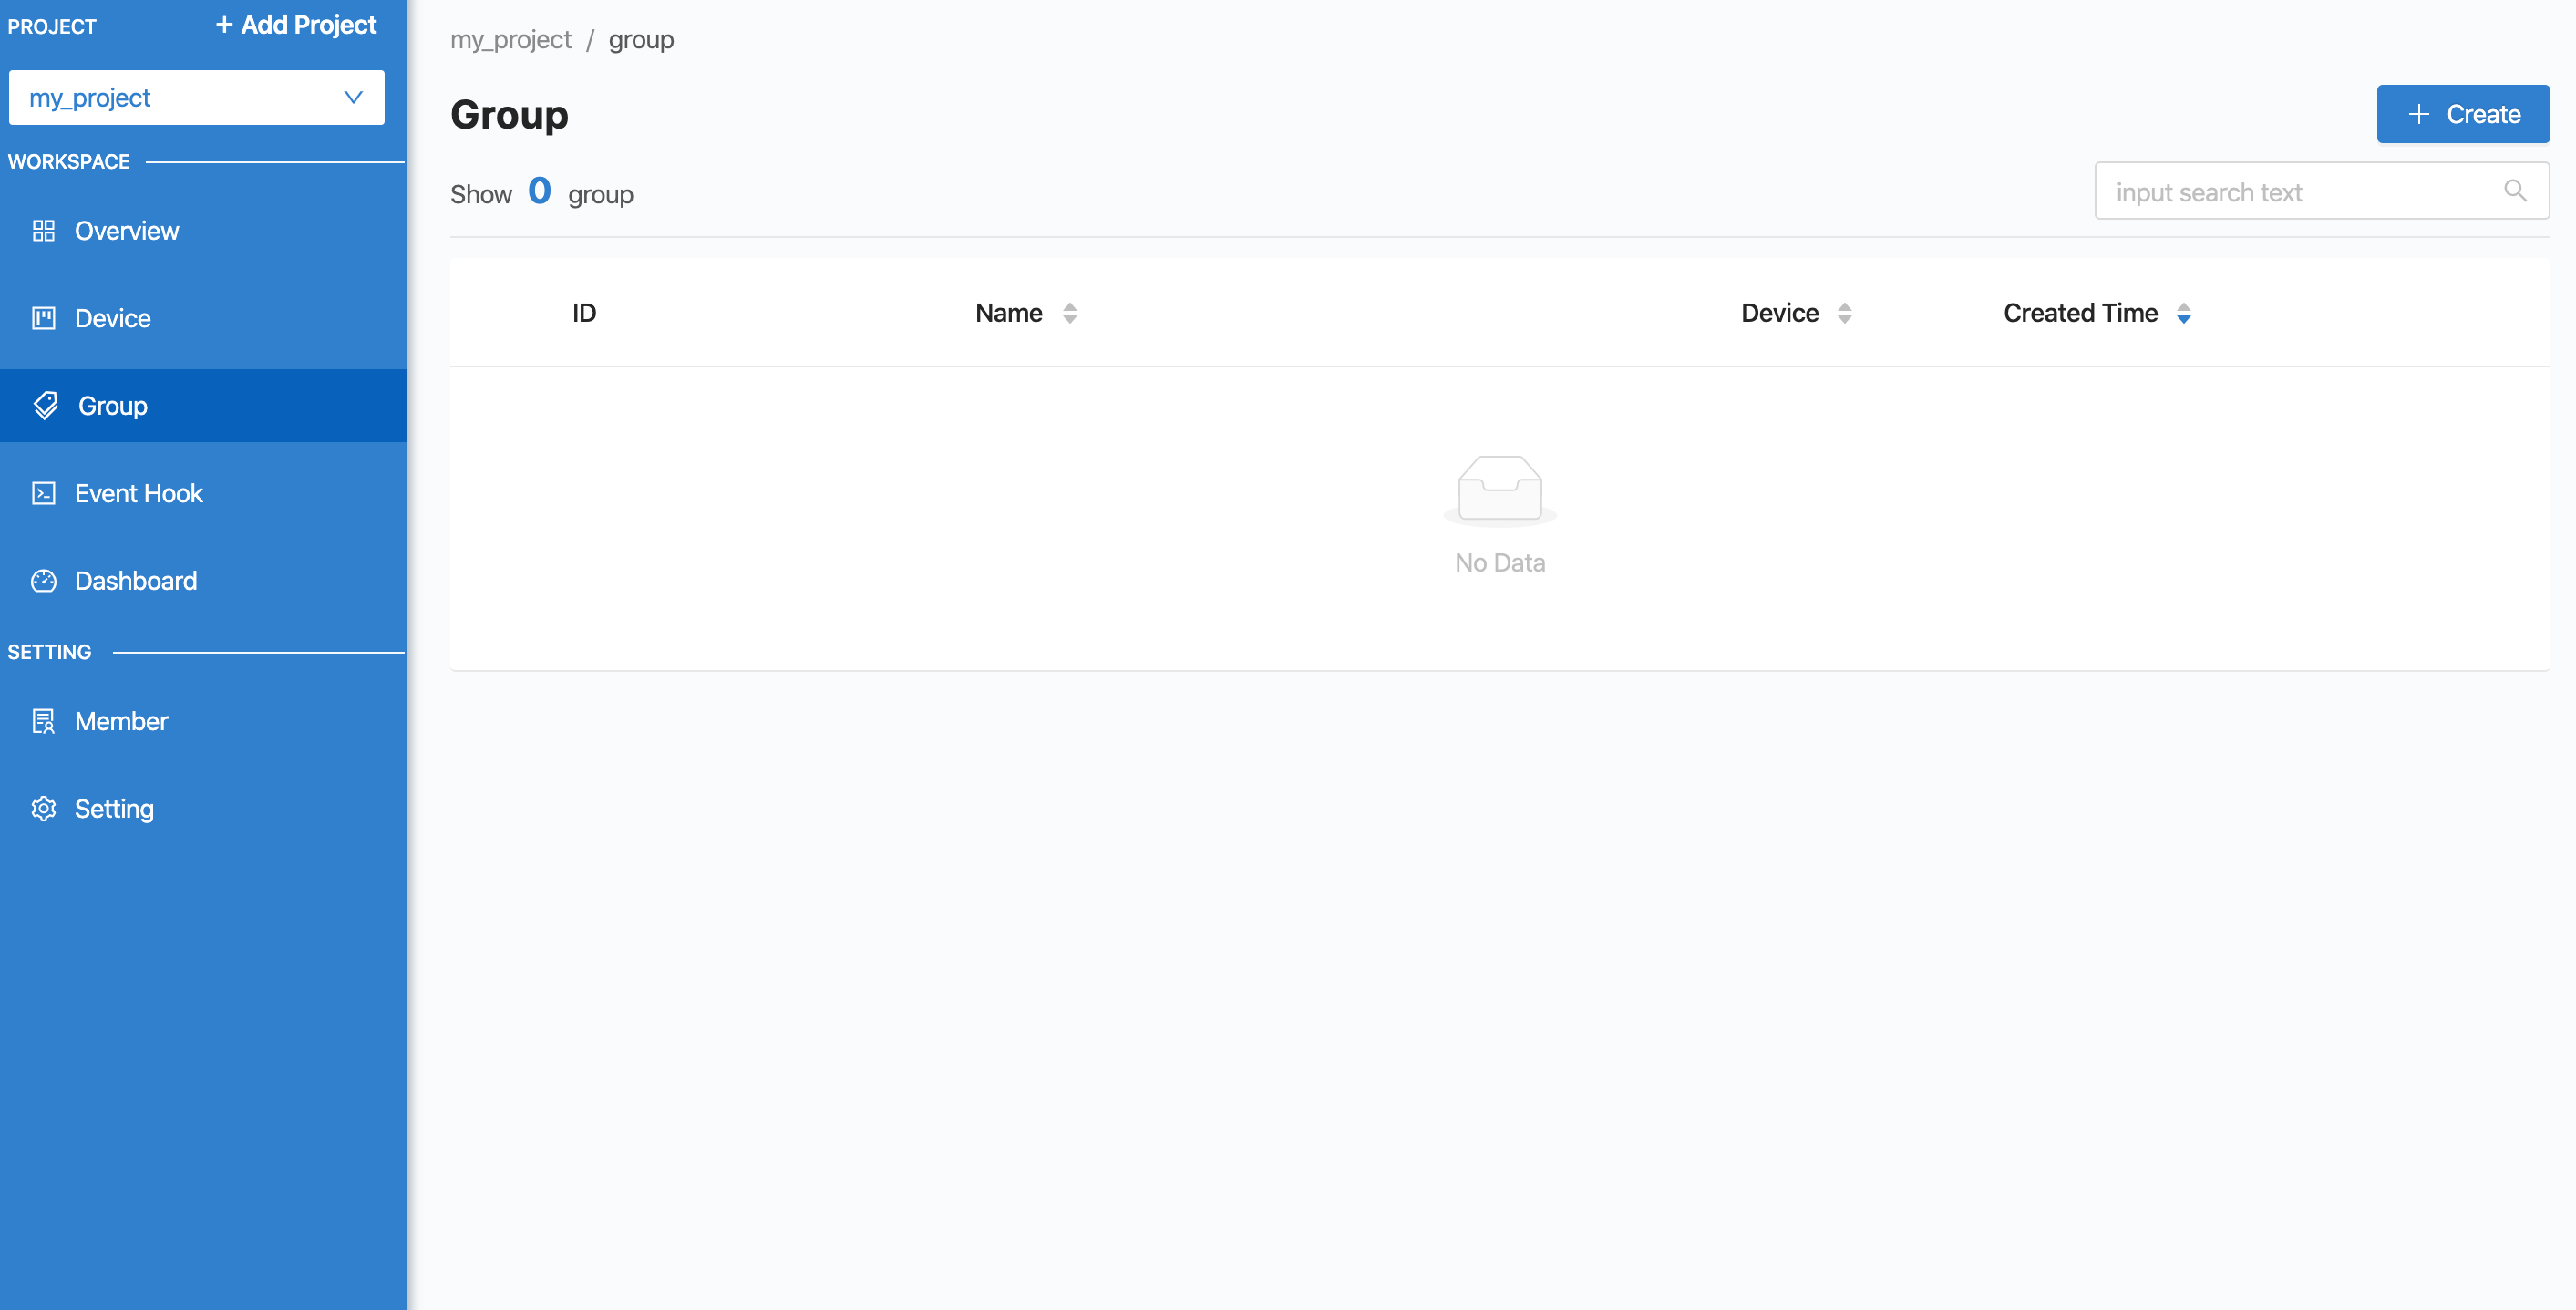
Devices that can communicate with each other must be in the same Group. To create a Group, go to the "Group" menu on the left.
To create a Group, click the "Create" button in the upper right corner. A form will appear for you to fill in the Group information.
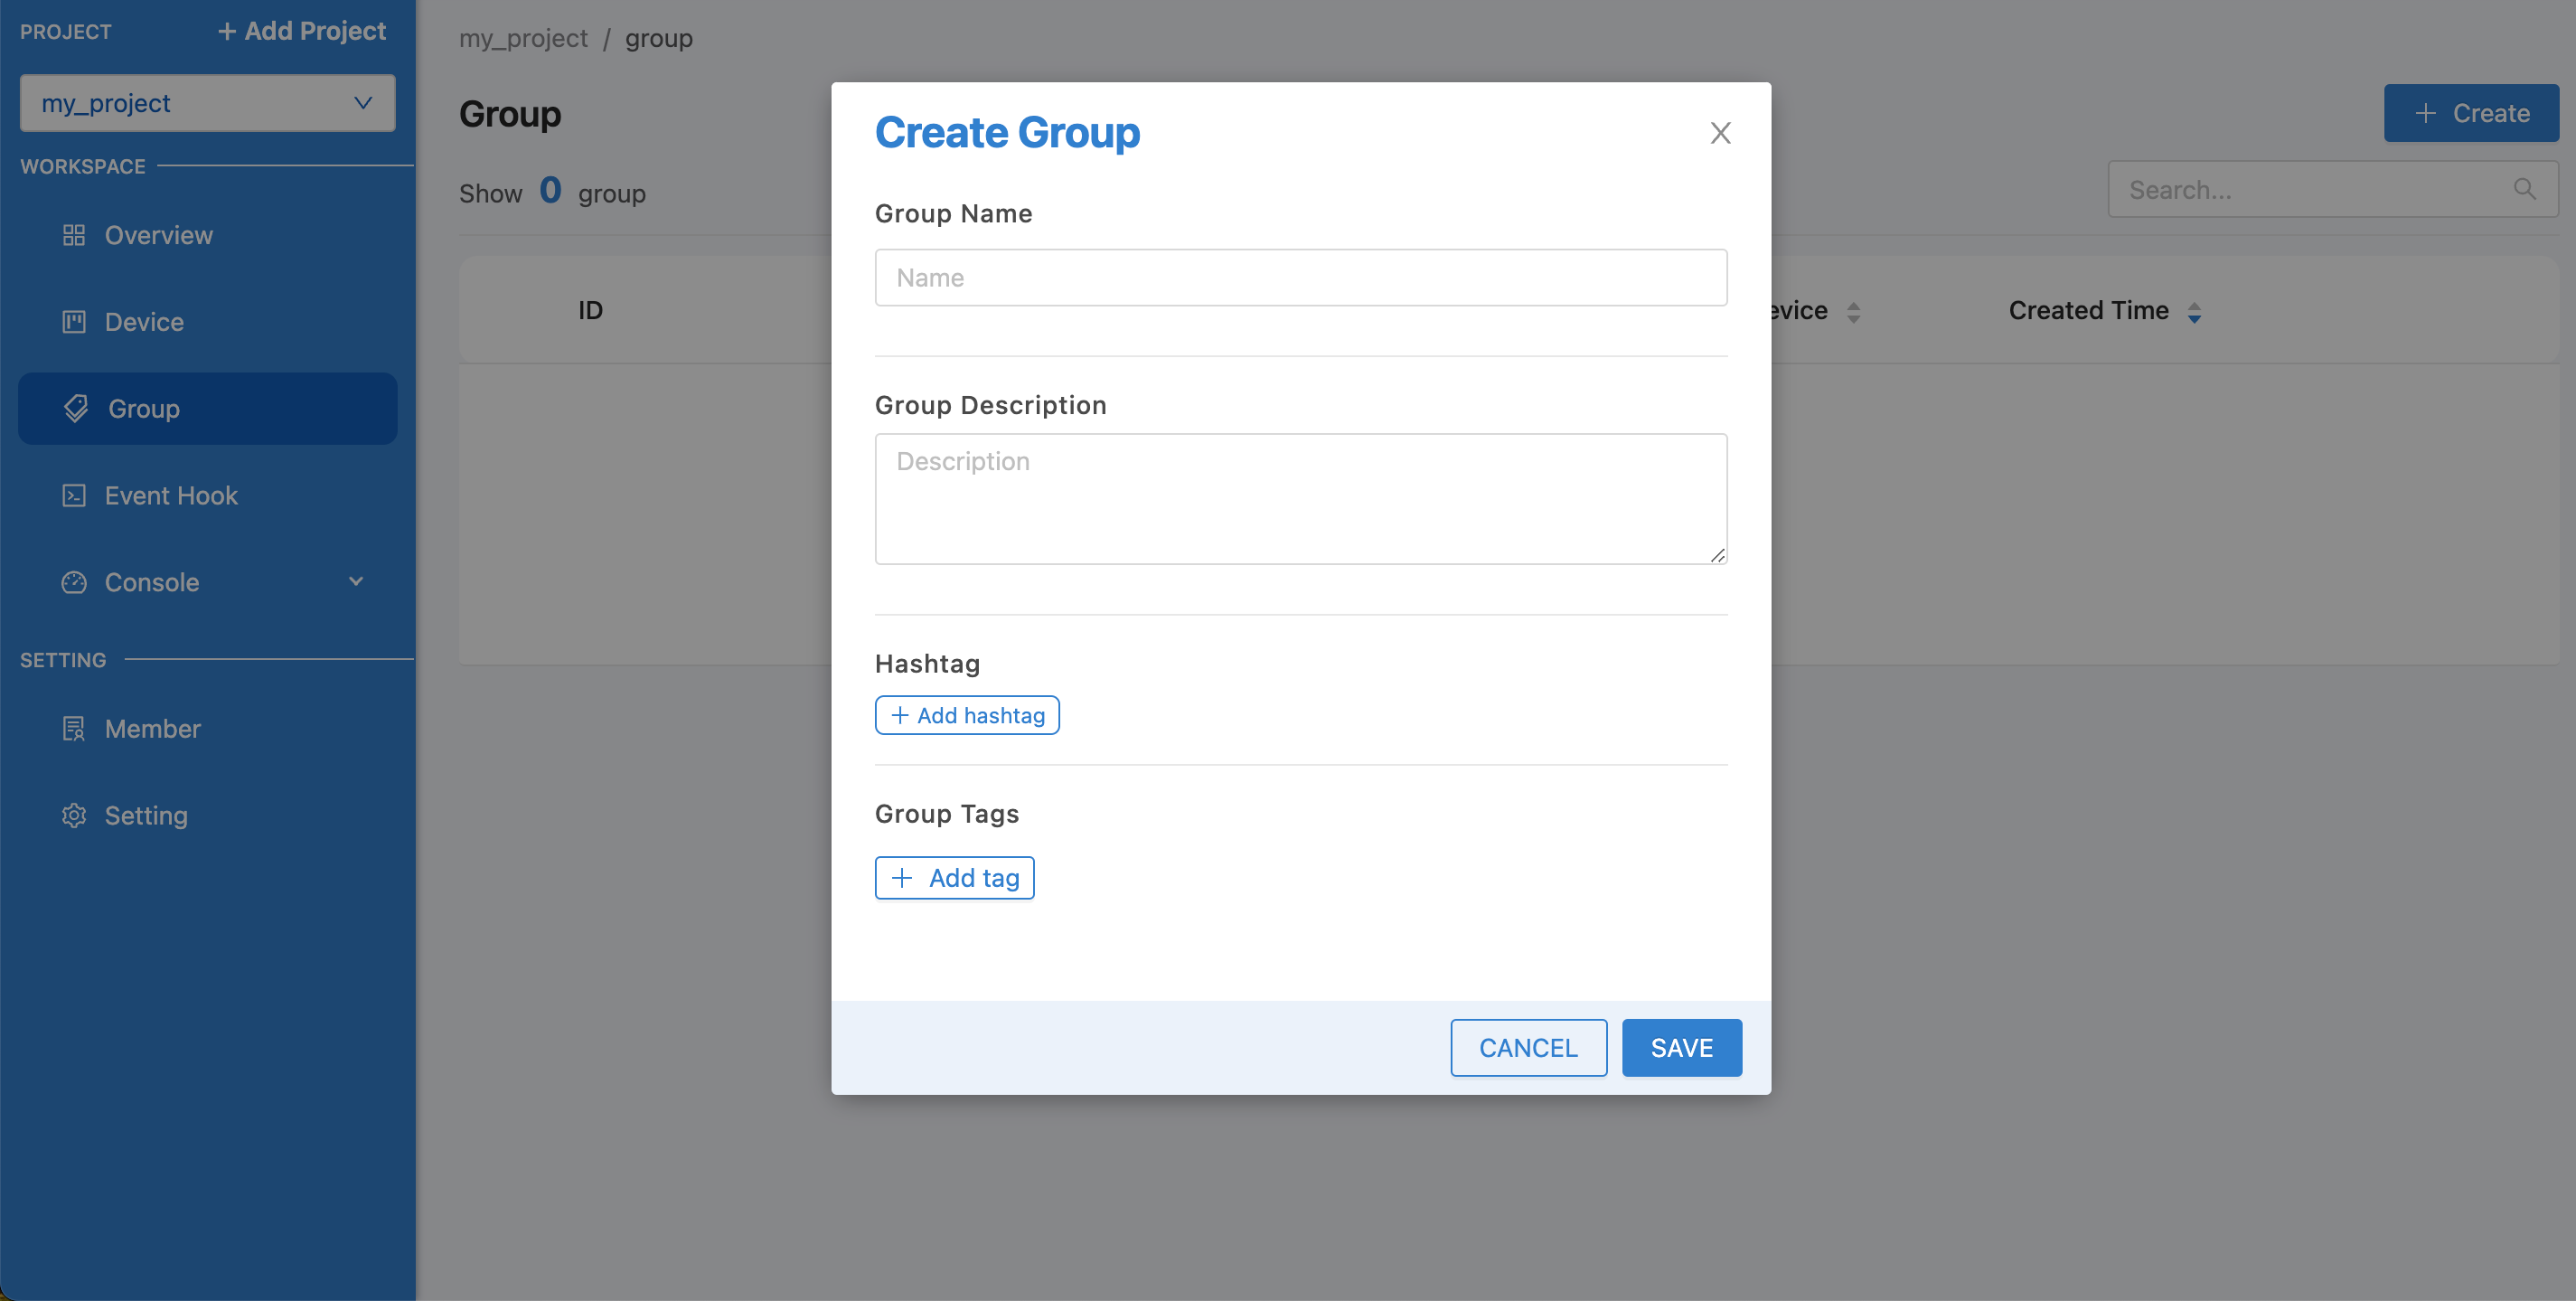
Fill in the Group information and then click the "SAVE" button. The system will create the Group for you.
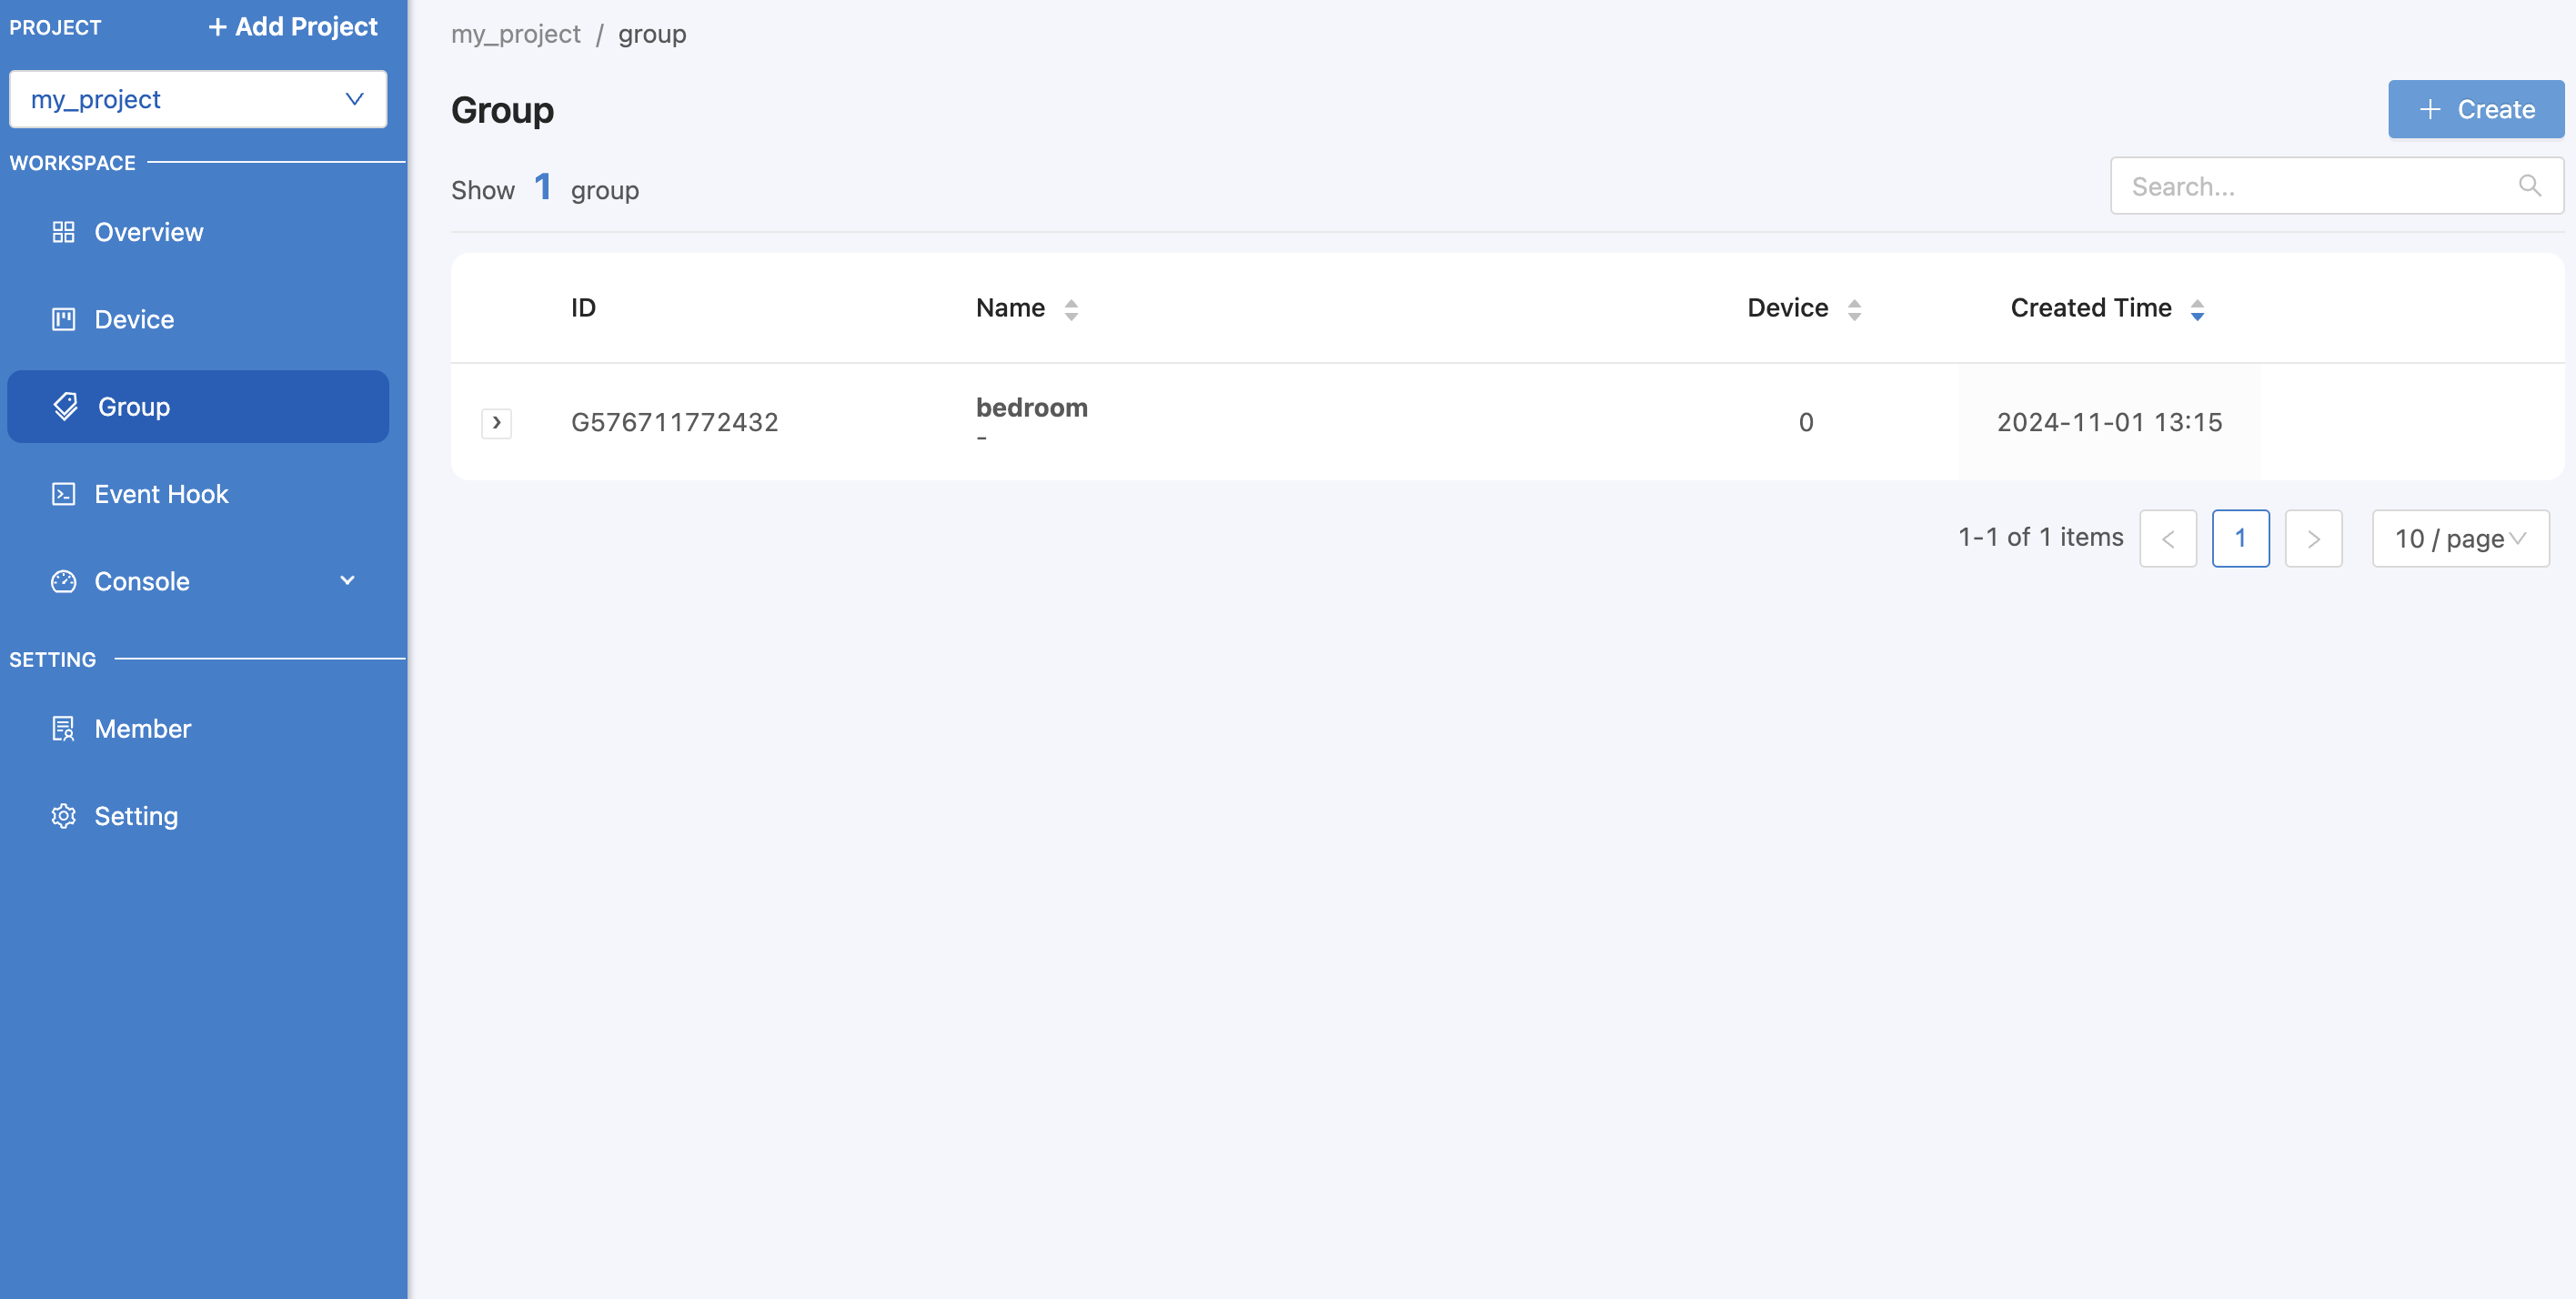
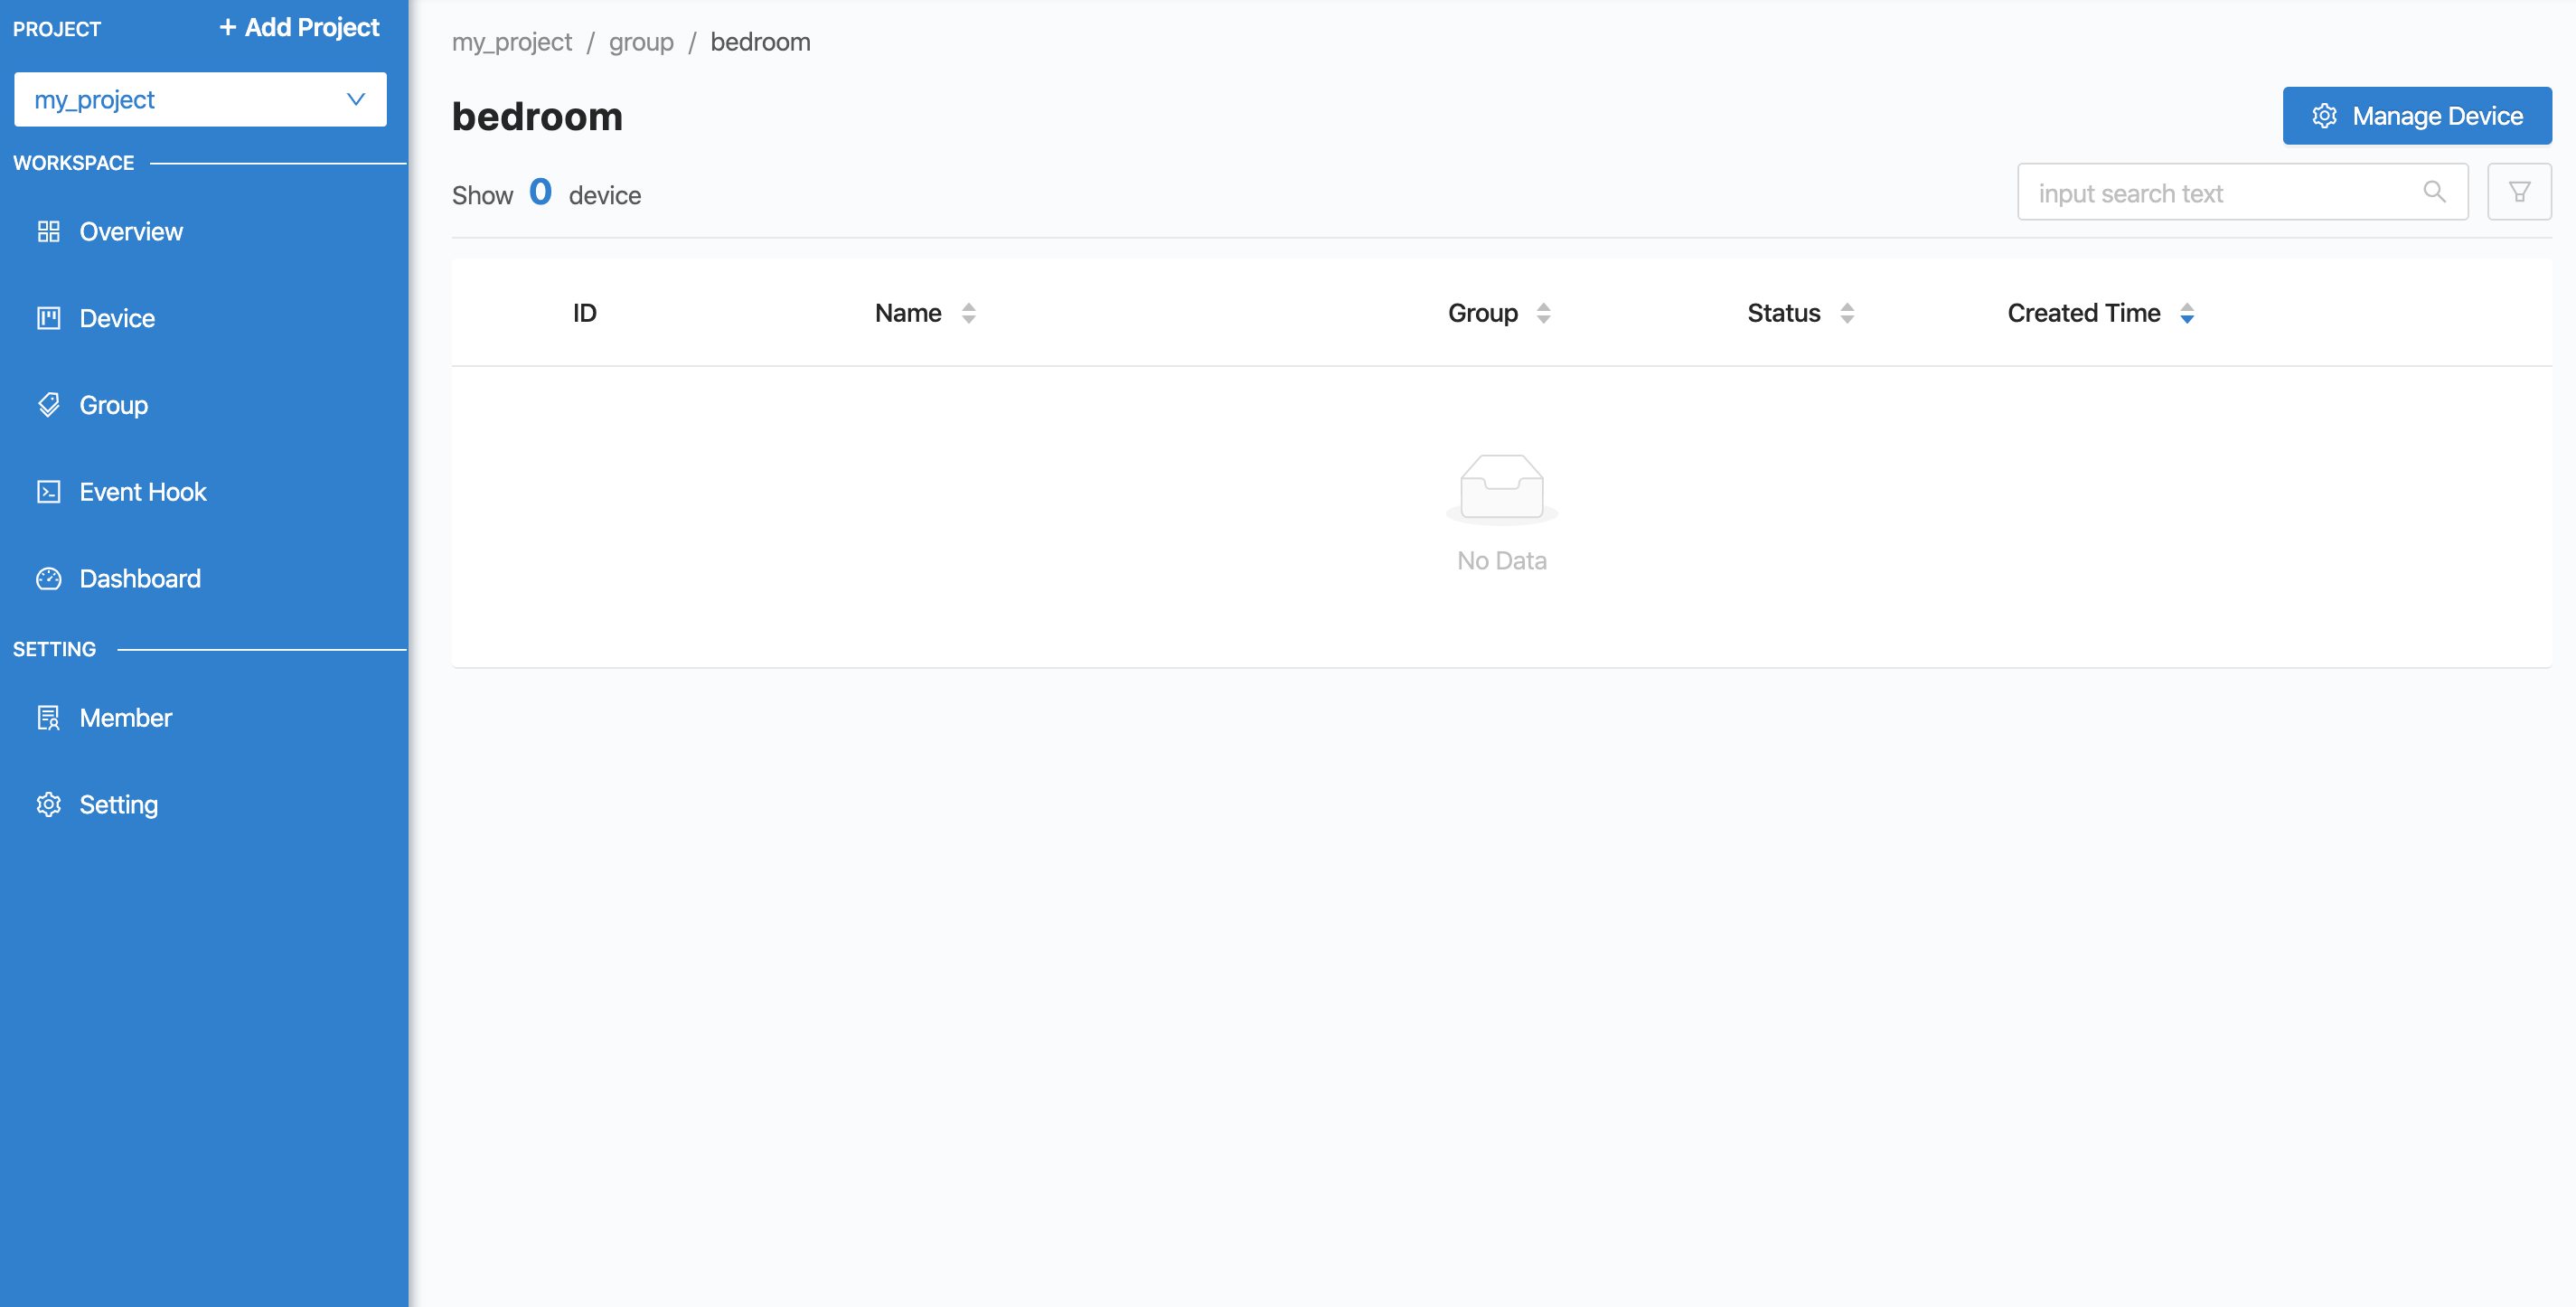
Then click on the created Group to manage the Devices within that Group. If there are any Devices in that Group, the Devices list will be displayed on this page.
To manage devices within a group, click on the "Manage Device" button in the top right corner. Clicking on this will bring up a screen for adding/removing devices from the group.

From the image above, click on the Check Box in front of the Device in the left frame that you want to organize into this Group, then click on the ">" button to move the Device list to the right frame, which is to organize the Device into a Group.
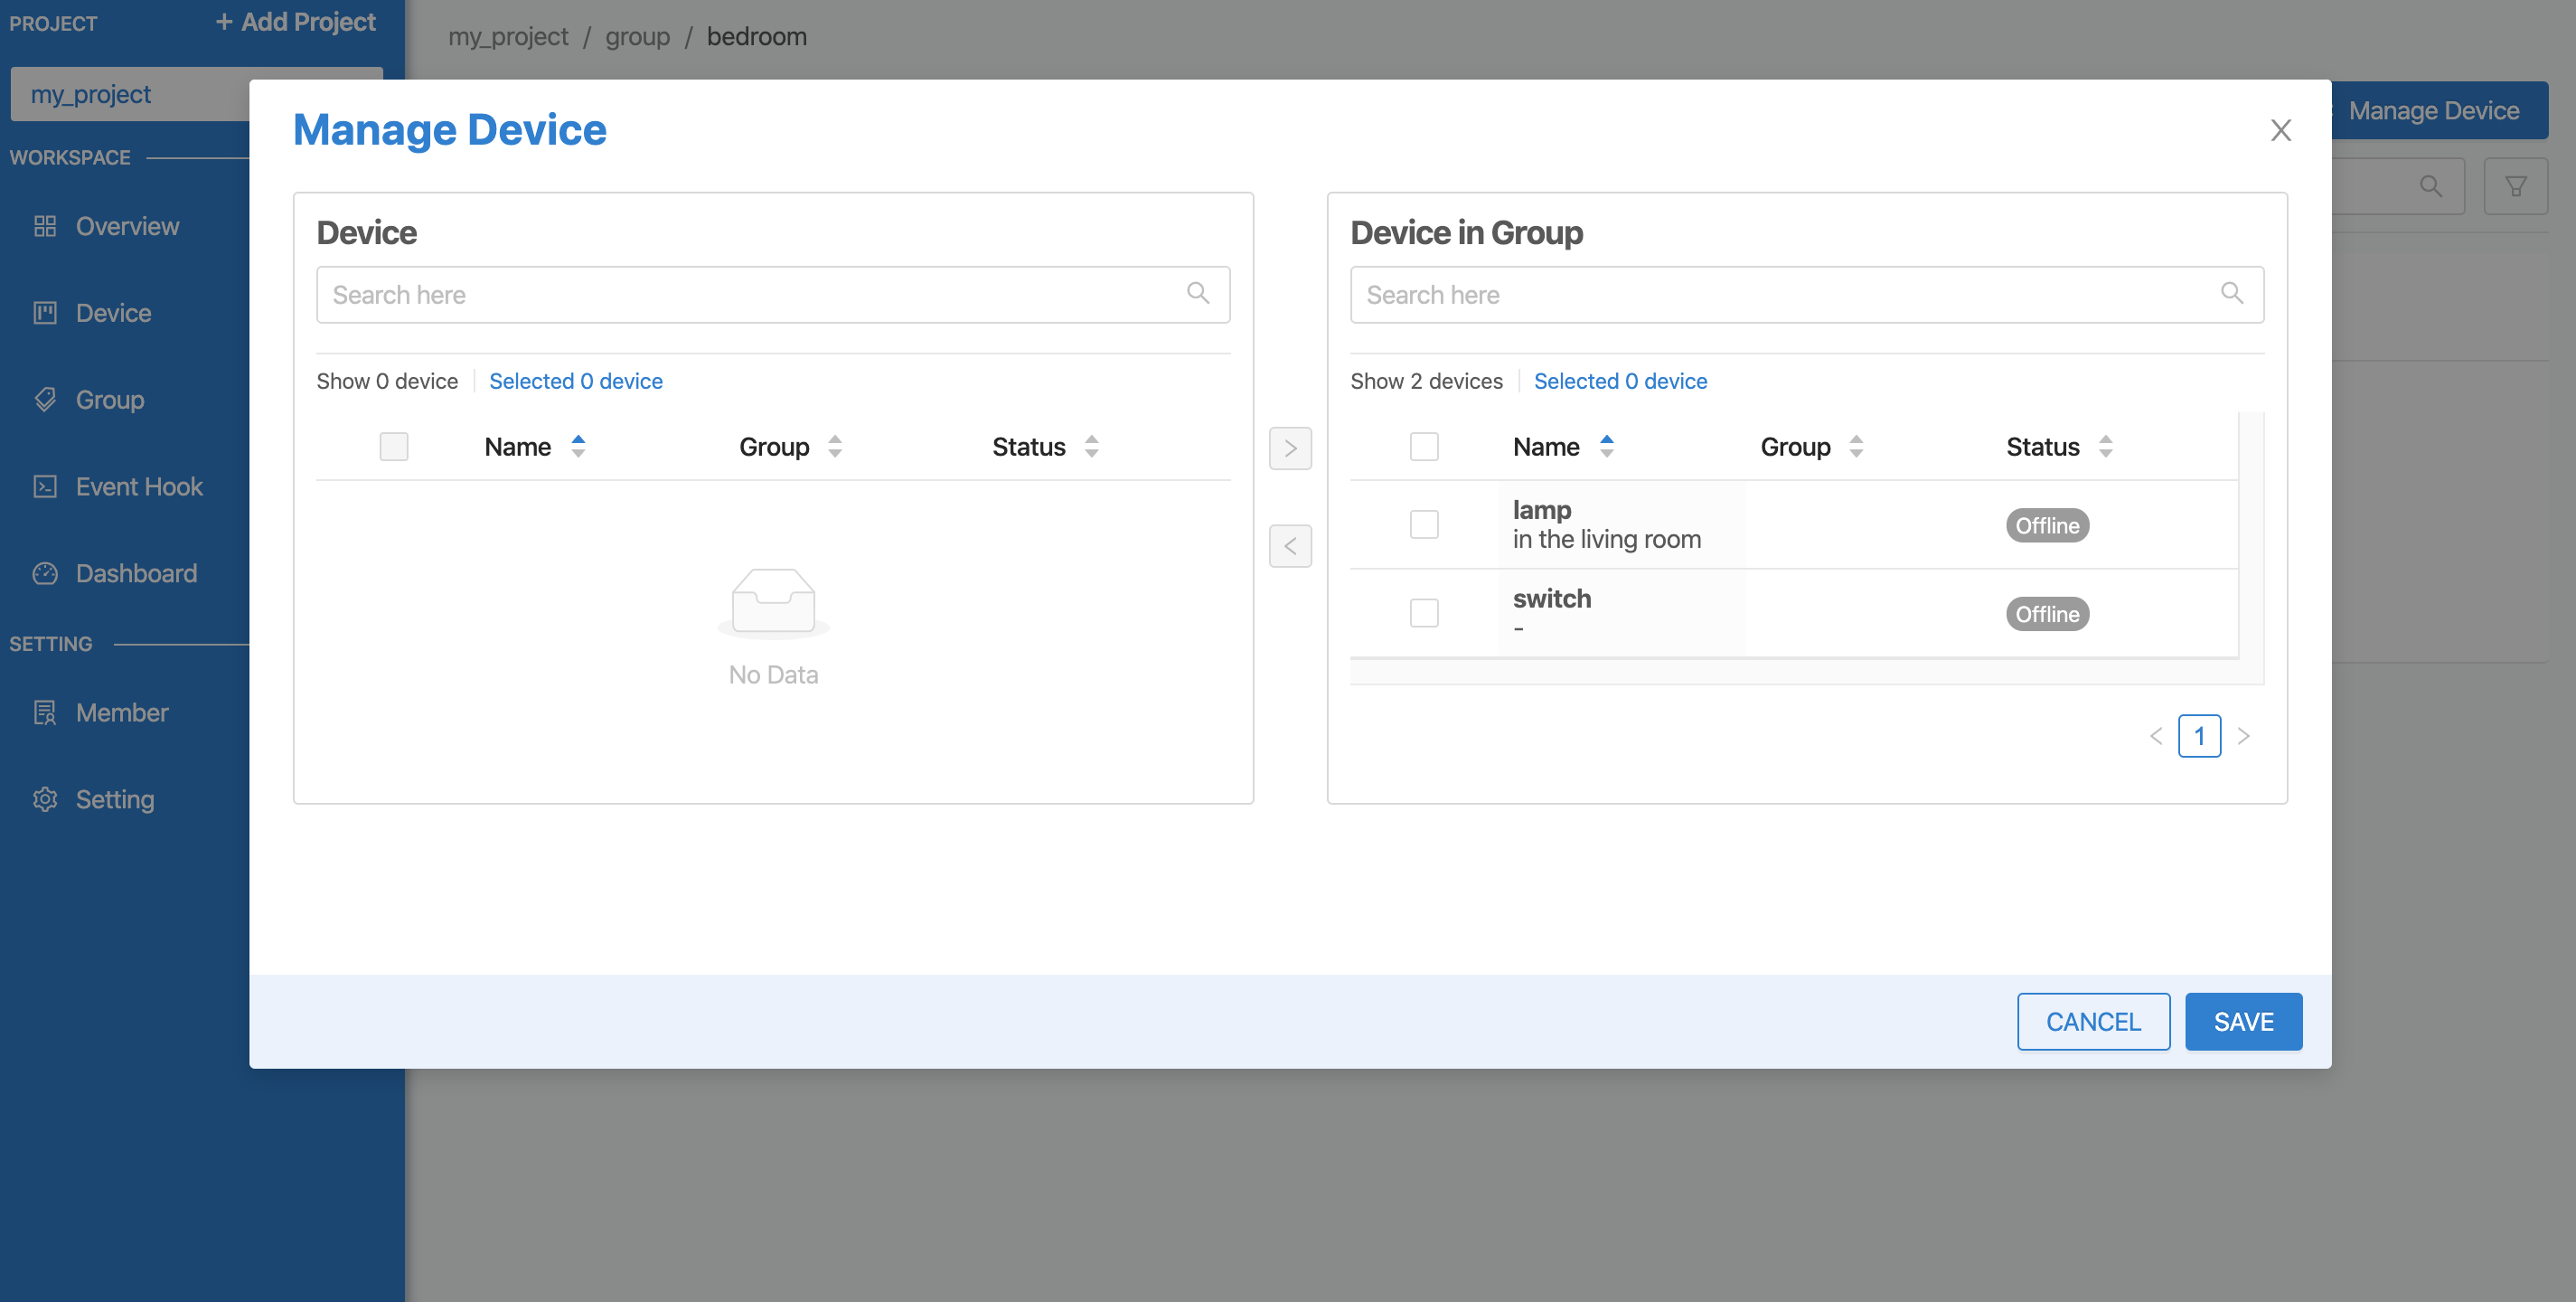
From the image above, once you have selected the Device, click on the "SAVE" button to save the data and it will appear in the Group.
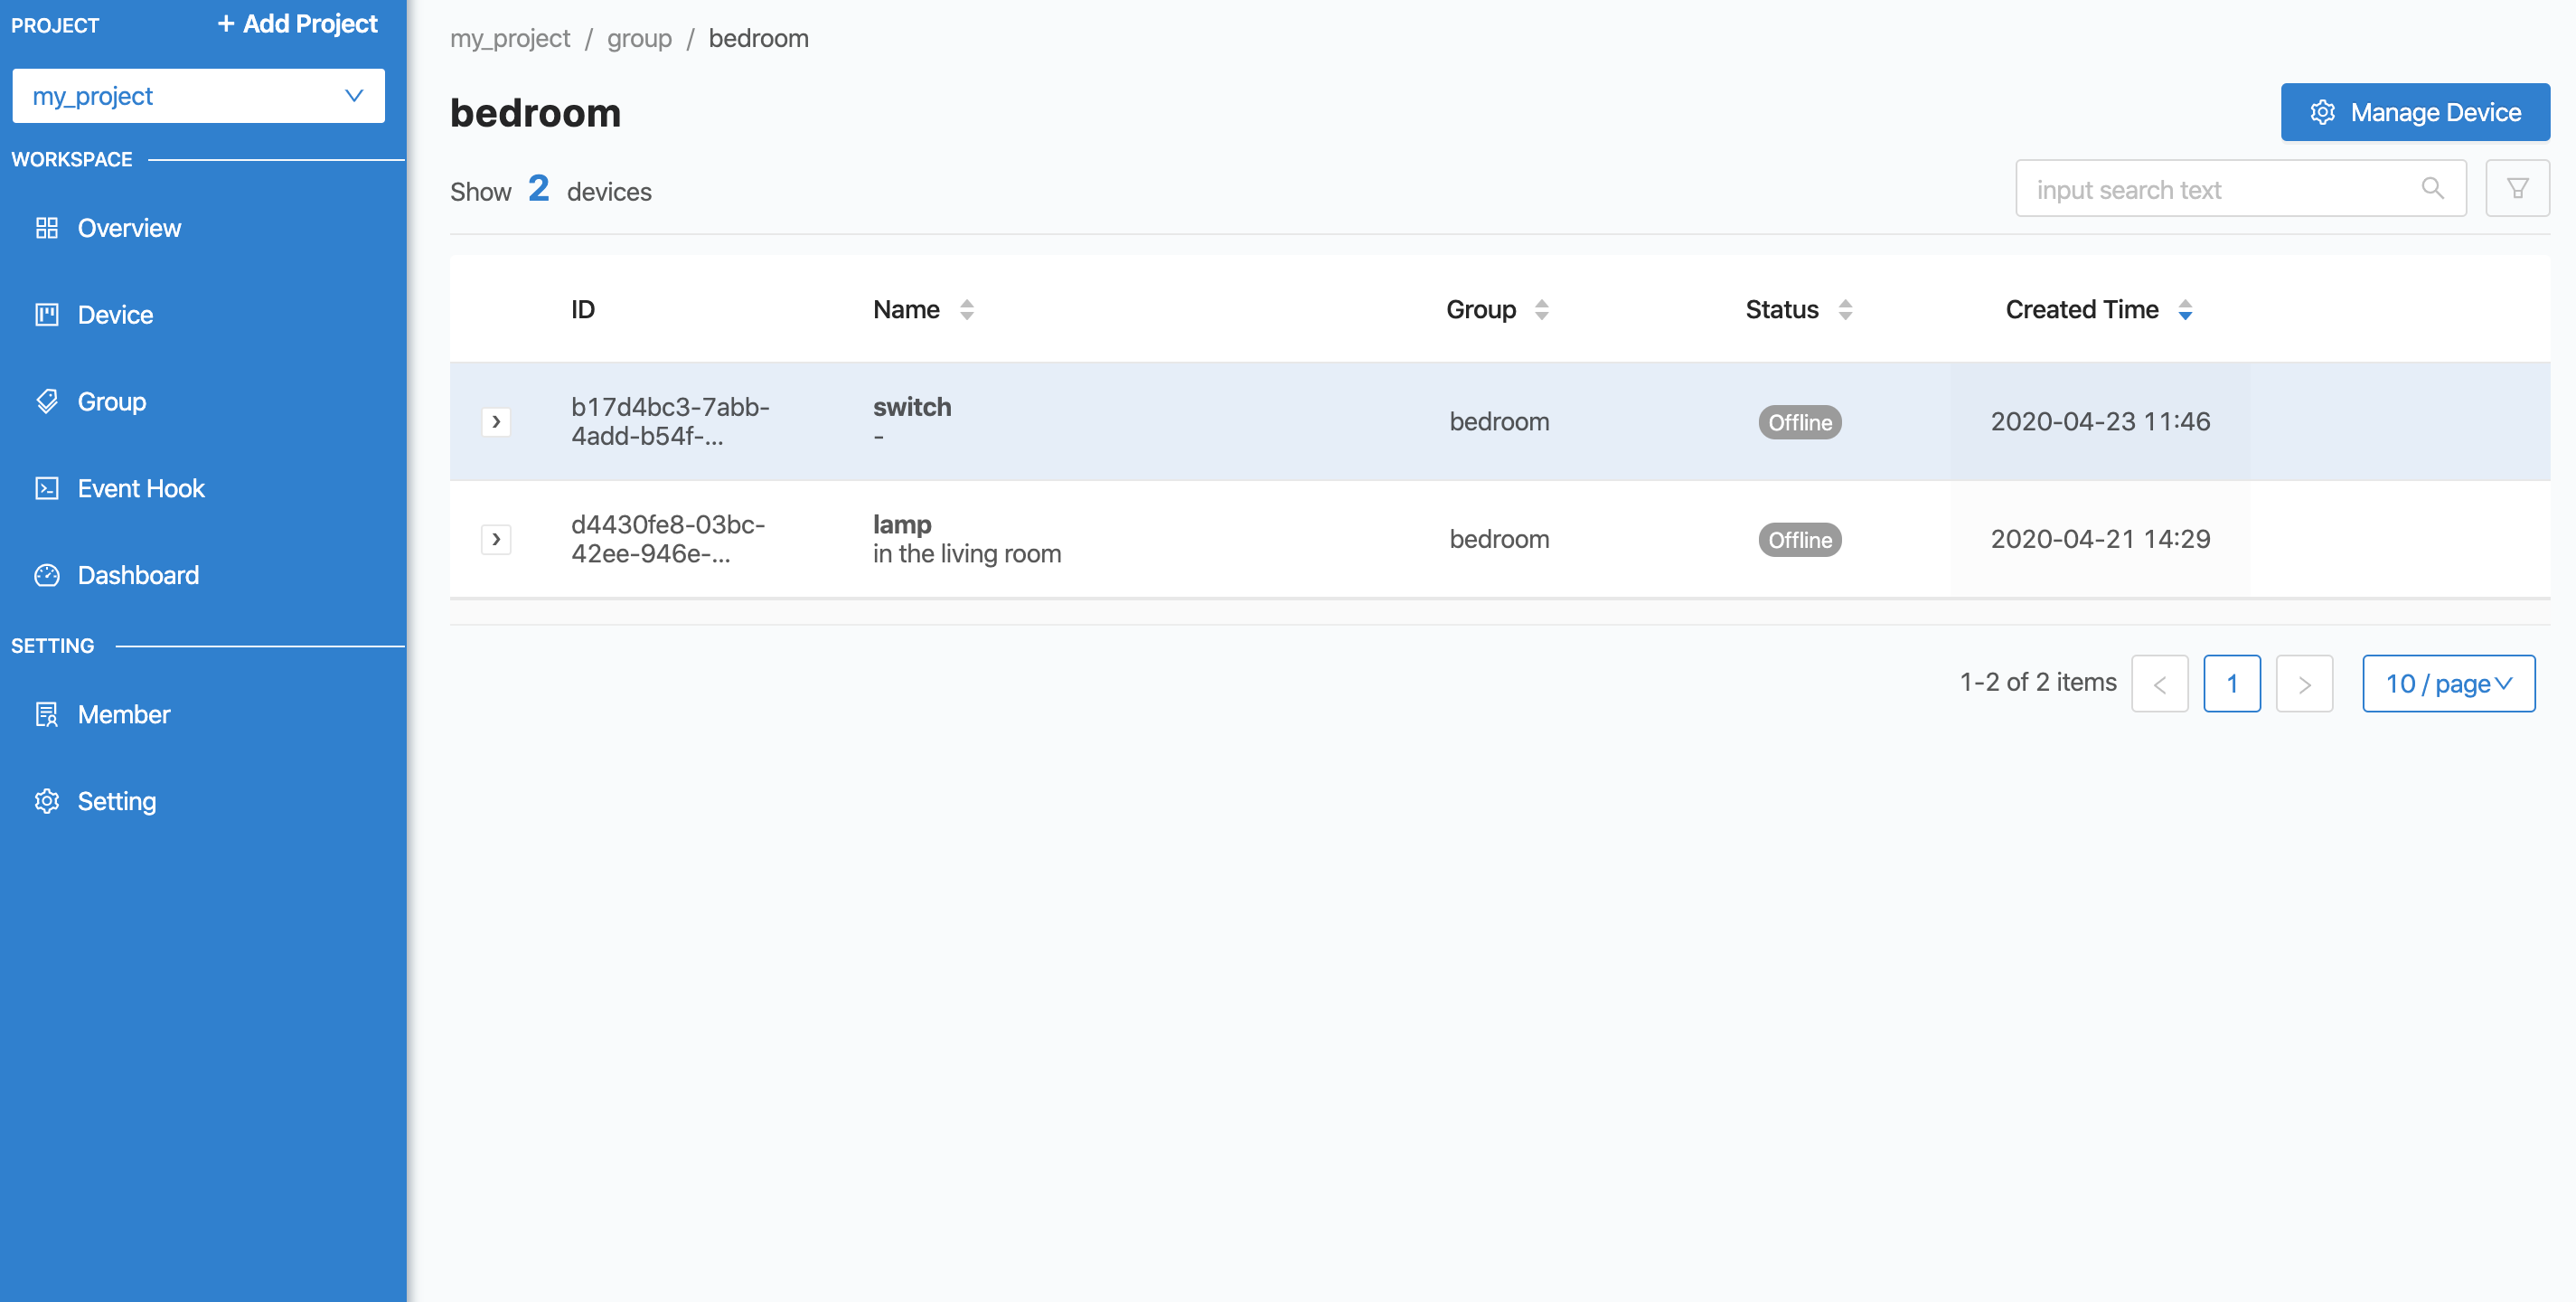
Once the devices are organized into a group, connect the two devices that were organized into the same group earlier via MQTTX as shown in the following figure.
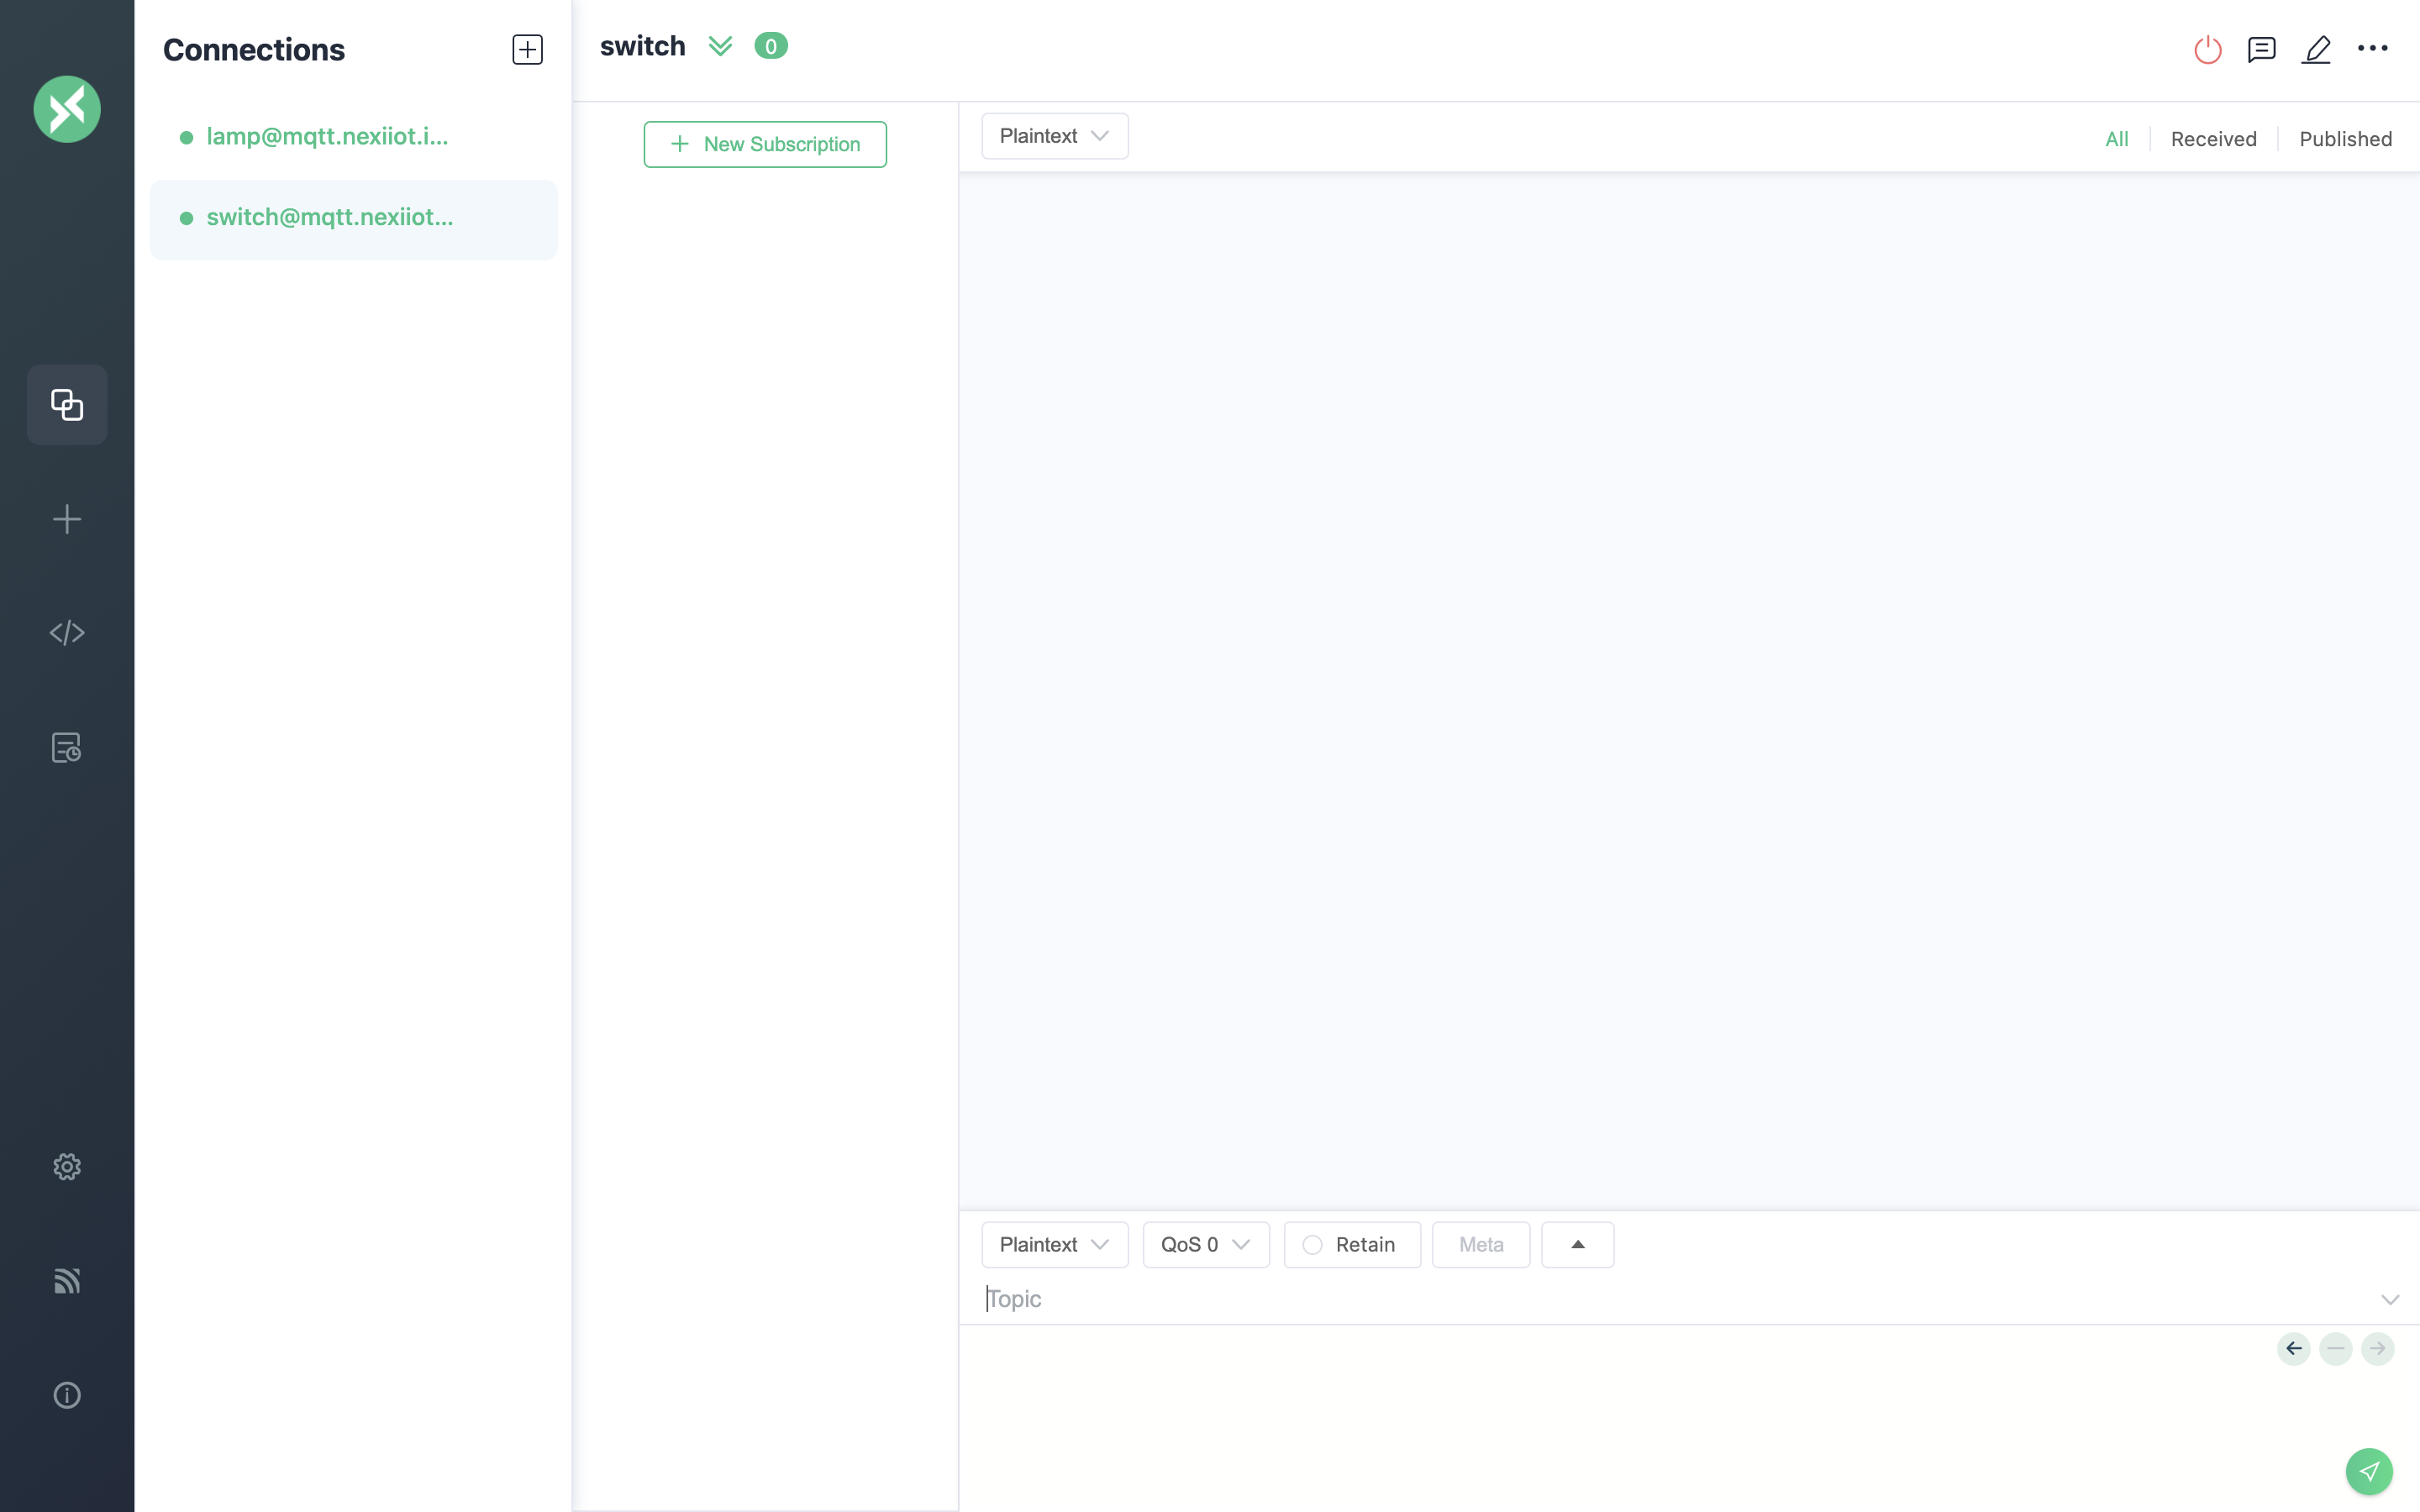
Go back to the https://portal.nexiiot.io web page , go to the "Device" menu on the left, you will see that both devices are connected to the Platform.
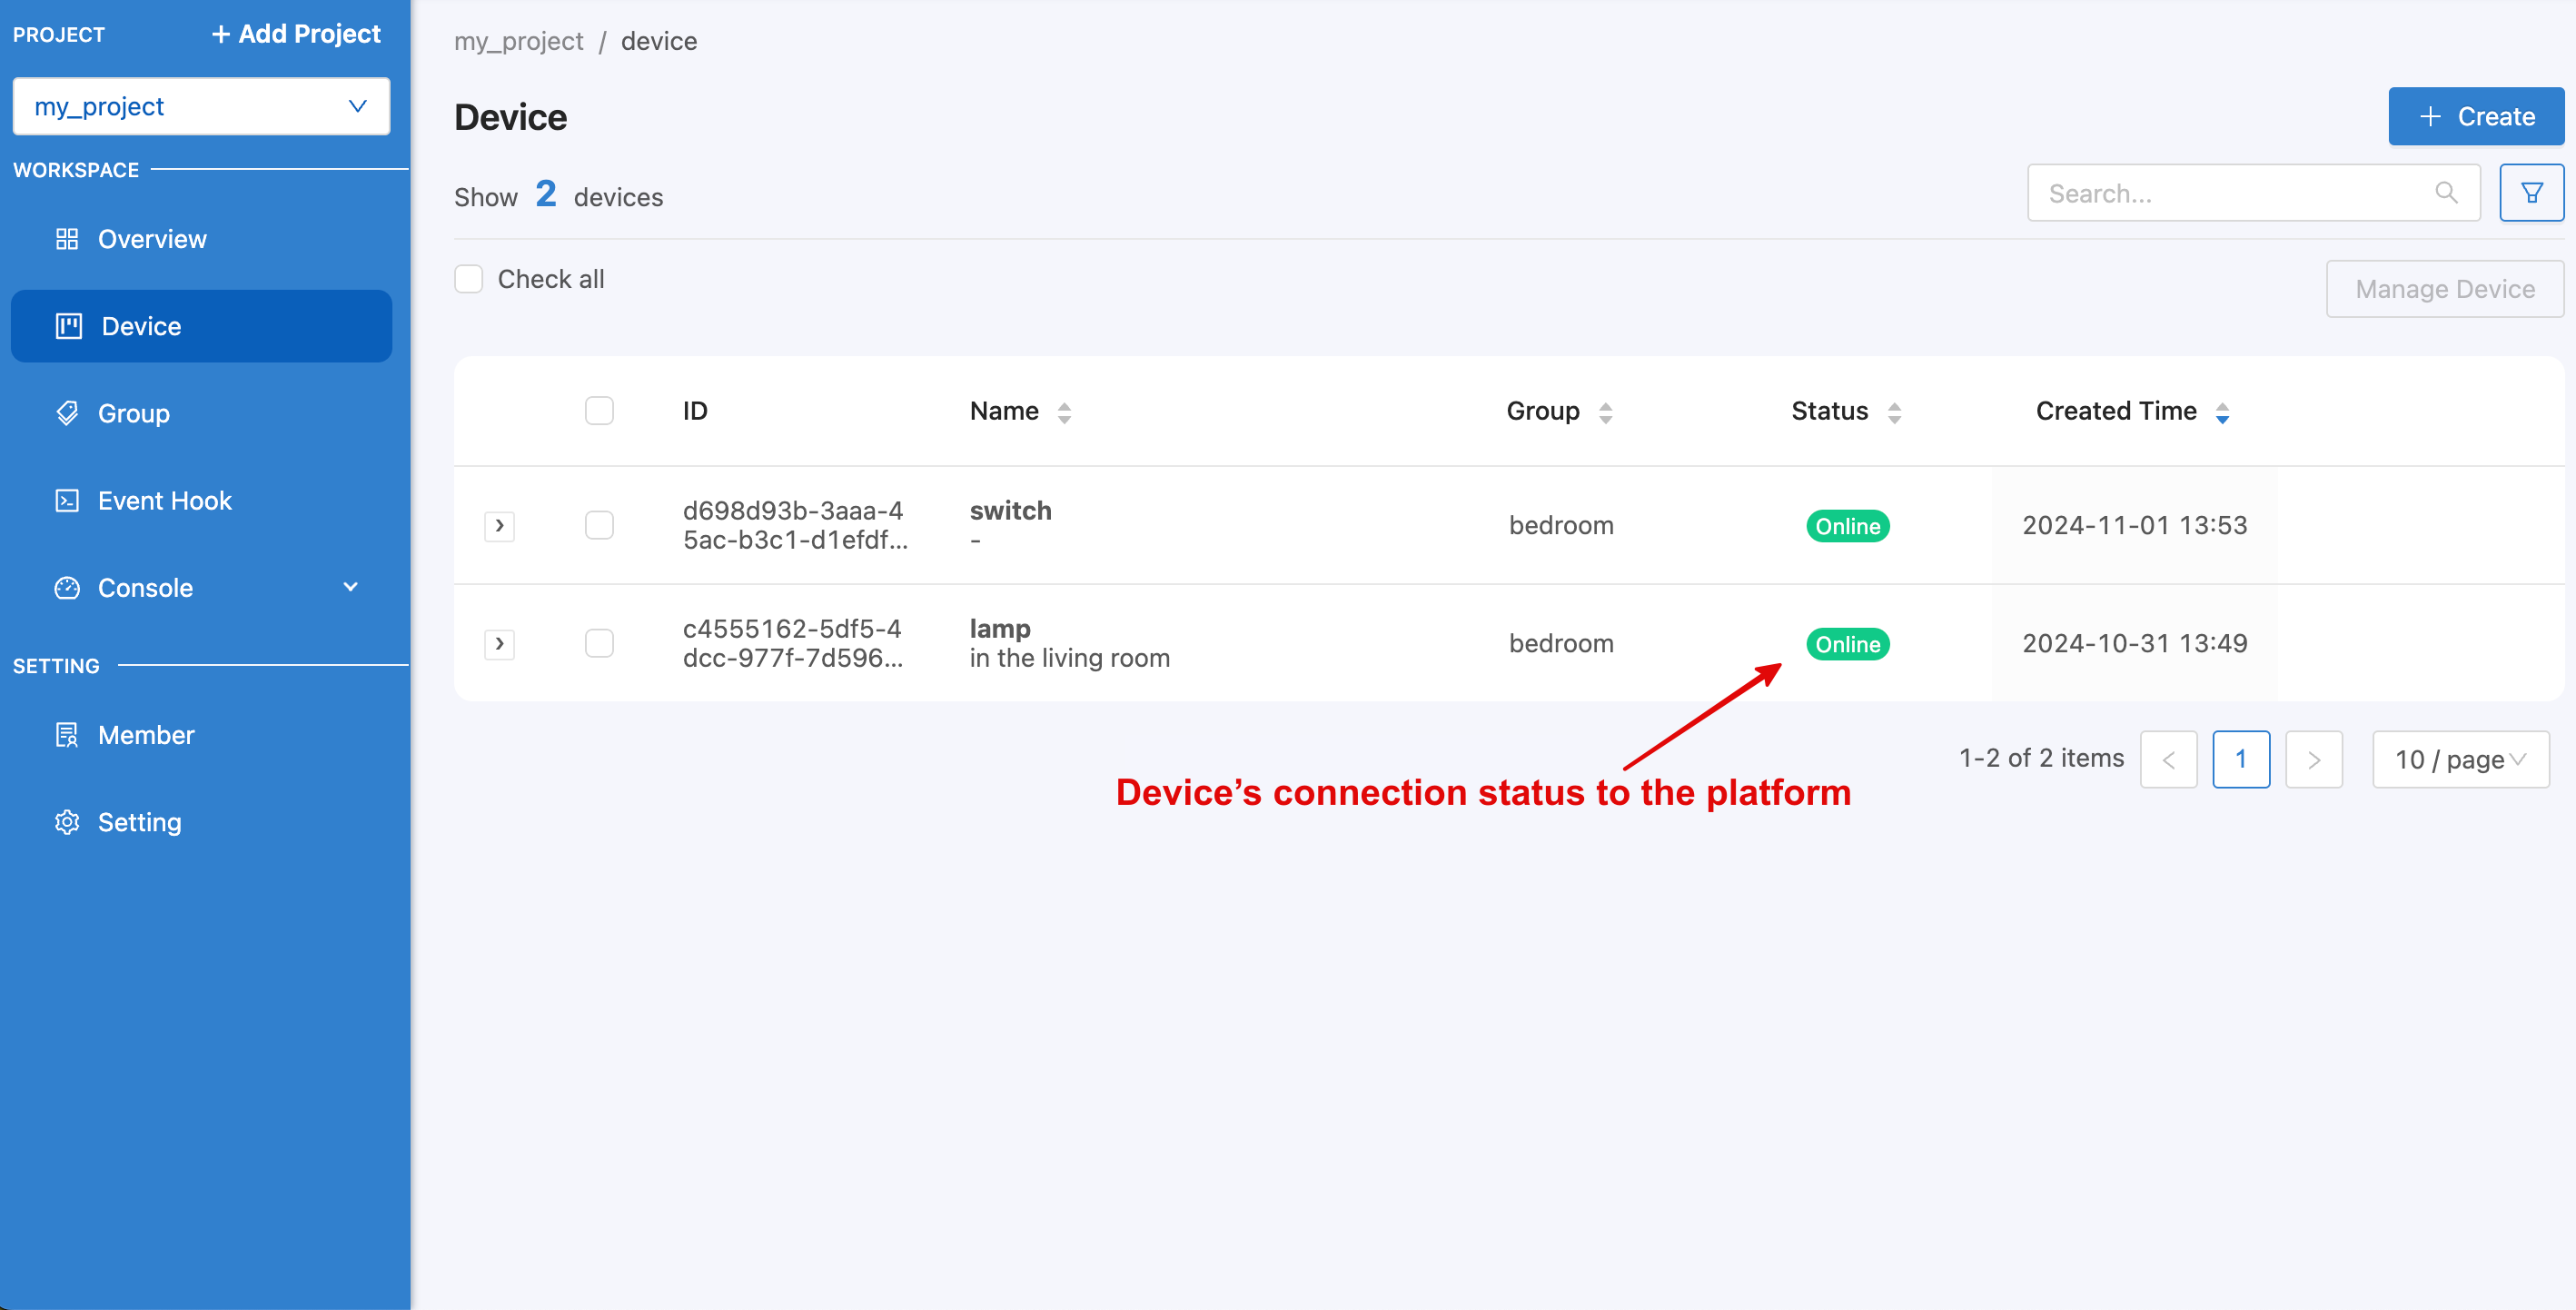
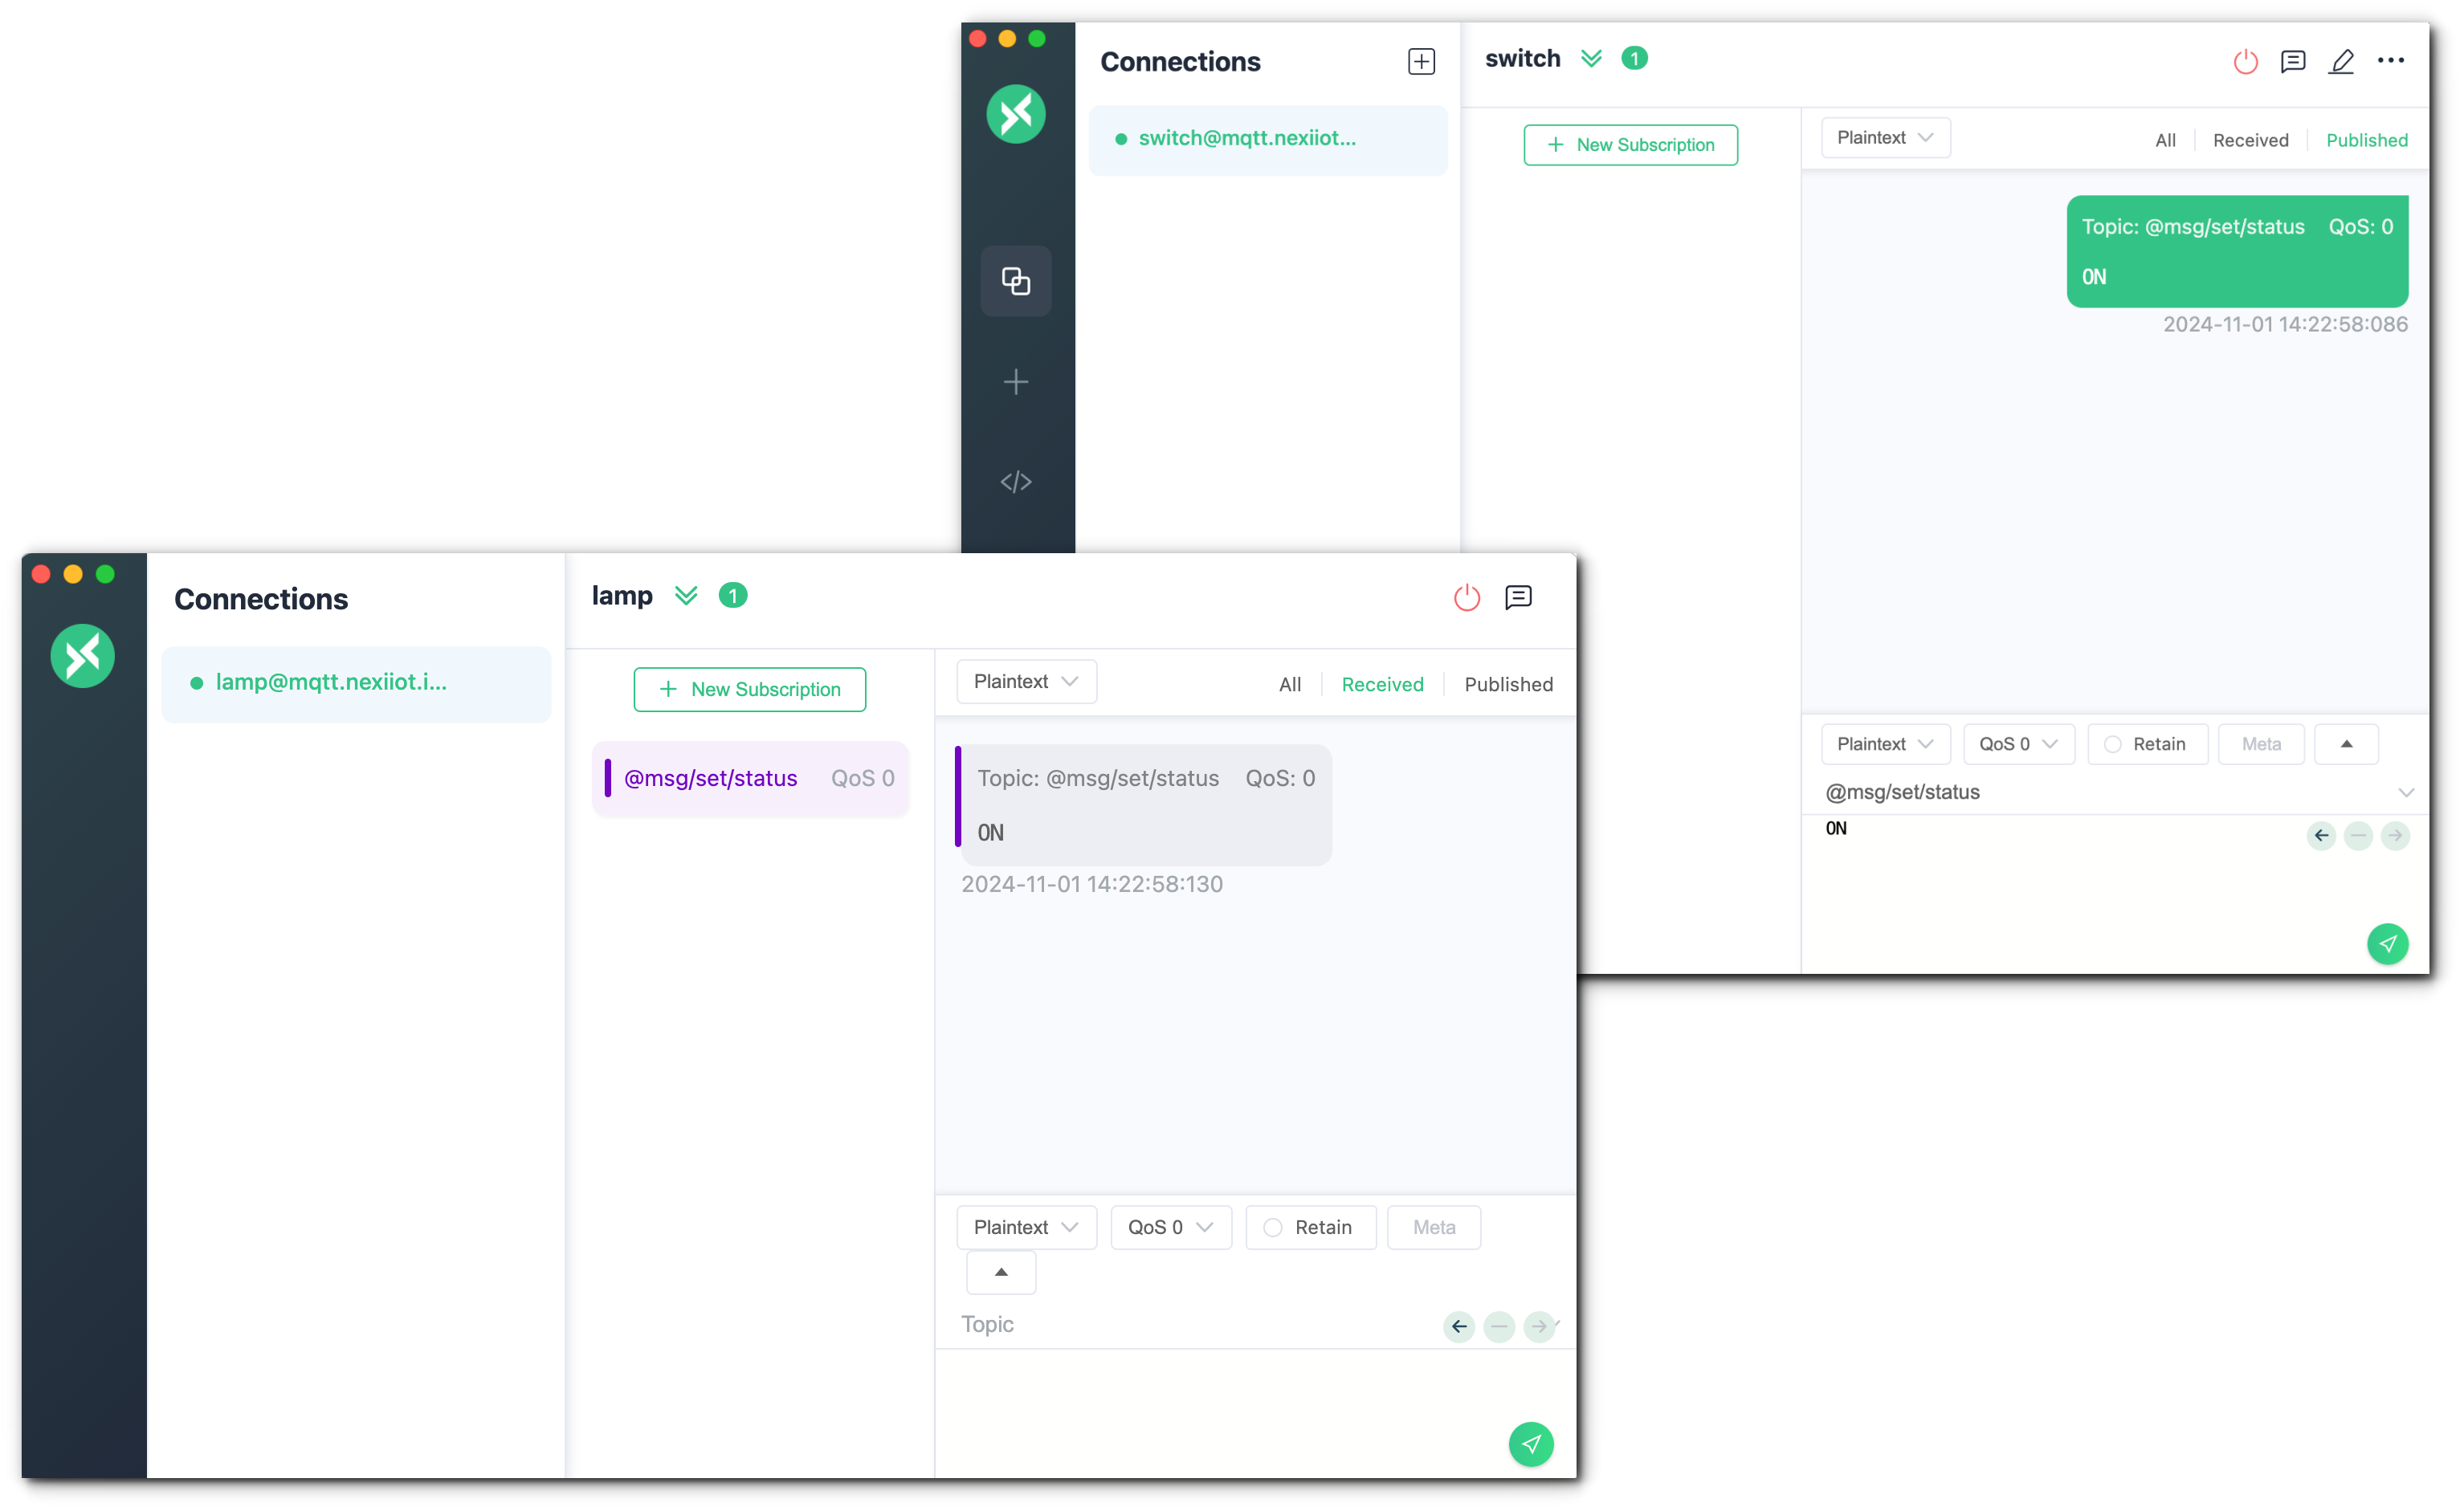
Test the communication between 2 Devices, "lamp" and "switch". Here we will test "switch" to send a message to "lamp" to turn on/off the light. Set the Topic to be Published (send data) and Subscribed (wait to receive data) to match. "switch" will act as Publish while "lamp" will Subscribe. Set the Topic to @msg/set/status (open MQTTX separately for each Device and window).